Process
Discovery
During our studio lab sessions, one of our tutorials consisted of teaching how to create 3D compositions with a low-poly aesthetic. Our teaching assistant introduced a 3D modeler artist named Timothy J. Reynolds and I immediately realized here that I loved this form of aesthetic and was motivated to practice more of this art-style in my free time.
Practice
Of course, I was highly inexperienced and new to this type of art form, especially in using Maya, so I practiced. I created various crude forms of low-poly art style. I watched YouTube tutorial videos, kept links of various “how to’s” for future references. In-between my other school projects and assignments, I made time to practice; simply because I had fun creating them. I enjoyed the struggle of figuring out the technical skills in Maya and the reward of finally seeing the final render in Photoshop.
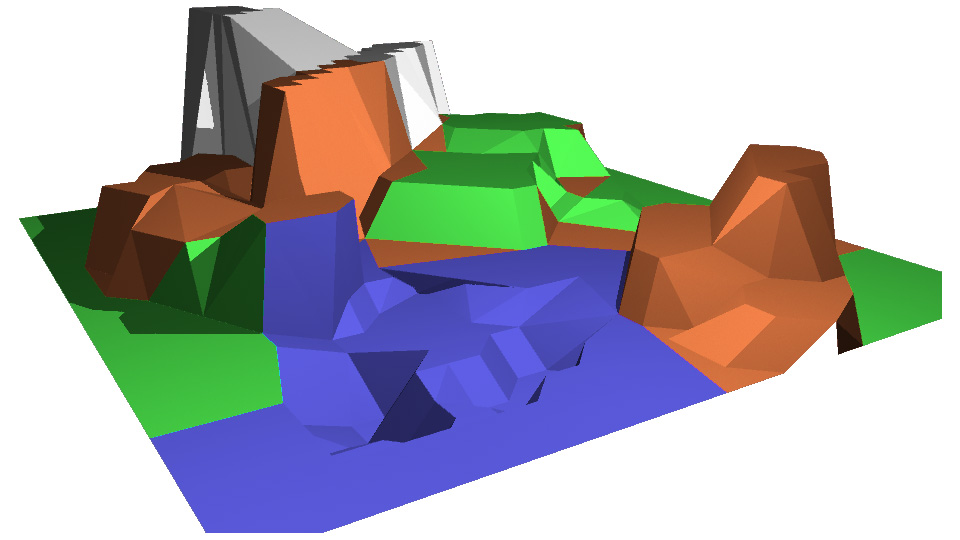
When I was confident, I tried to recreate one of Timothy J. Reynold’s artwork, called “Island”.
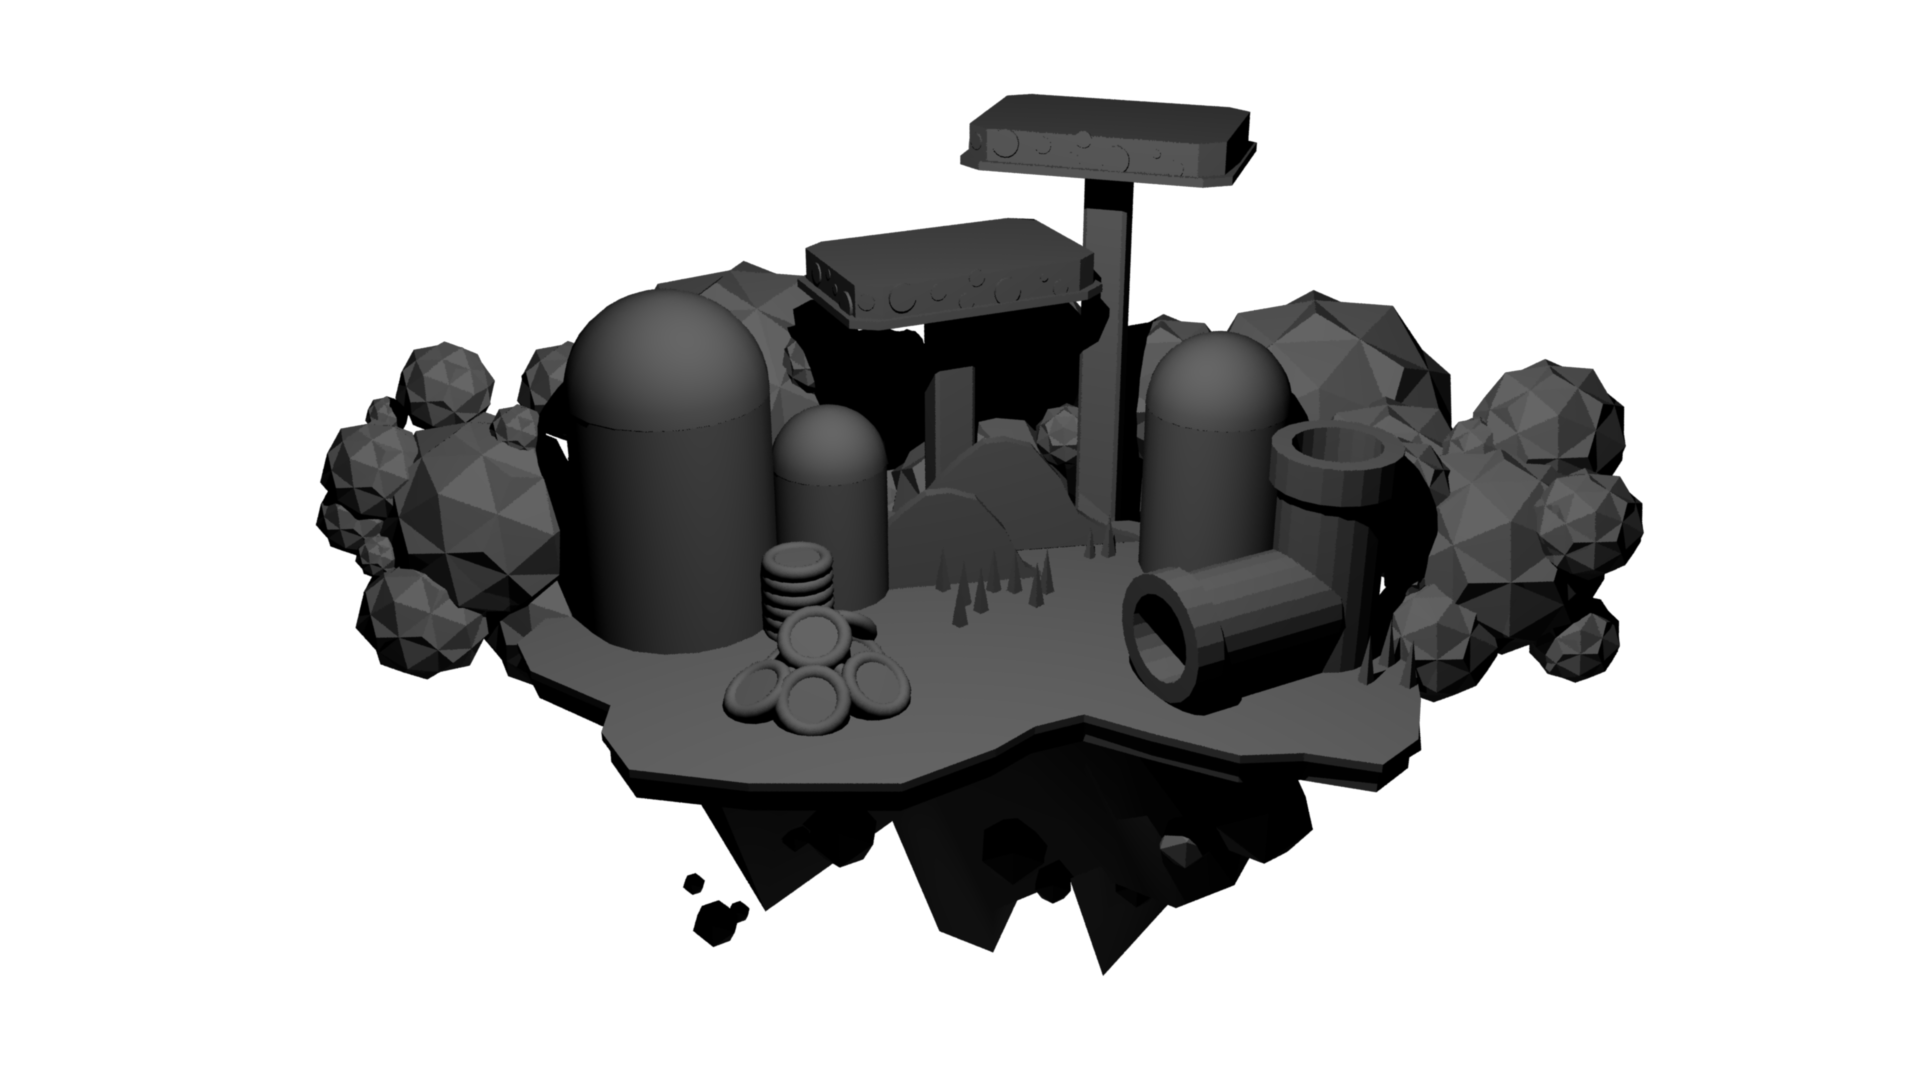
Creating a low-poly environment initially consists of three layers created in Maya: colour layer, occlusion layer, light layer. Then I combined the three layers by multiplying the layers, enhancing/adjusting it in Photoshop, in which is finalized into a low-poly composition.
From here on I continued to create and experiment with low-poly aesthetic in Maya and combining it in Photoshop.
Conceptualizing and Storyboarding
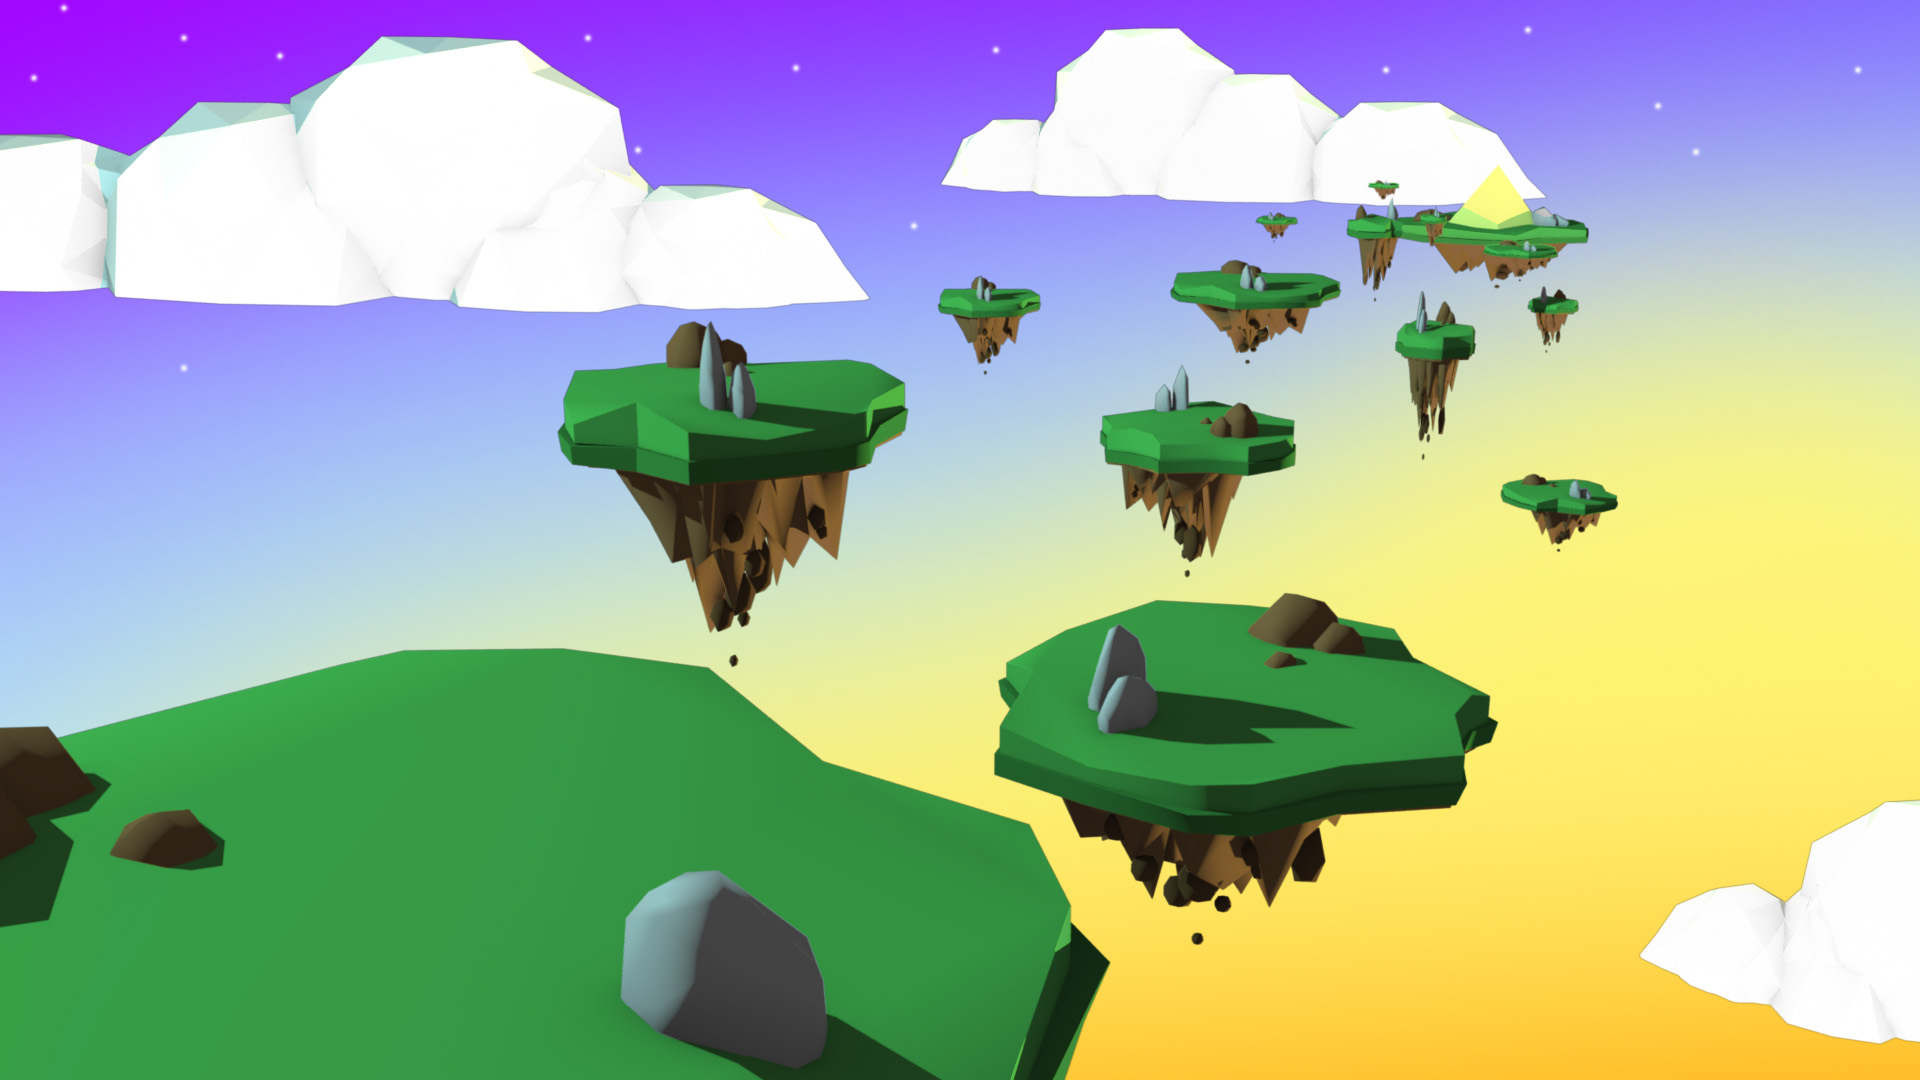
When it was time to work on Polygone, we initially began with conceptualizing and storyboarding. We decided to go for an “adventure” and “fantasy” type of short film where four characters goes through a montage of various environments to retrieve a legendary gem called “Polygone”, that resides in a temple of floating islands.
Storyboard VideoBecause we wanted to create all of our assets, our major struggle as a group was creating a complete animation within a short time frame (approximately 2 months), on top of other projects, with beginner to no skills in Maya or animations in general. Therefore, we settled with a low-poly art style for a “quicker” way to create the models, while also embracing our mutual favour of low-poly aesthetic.
Animatic
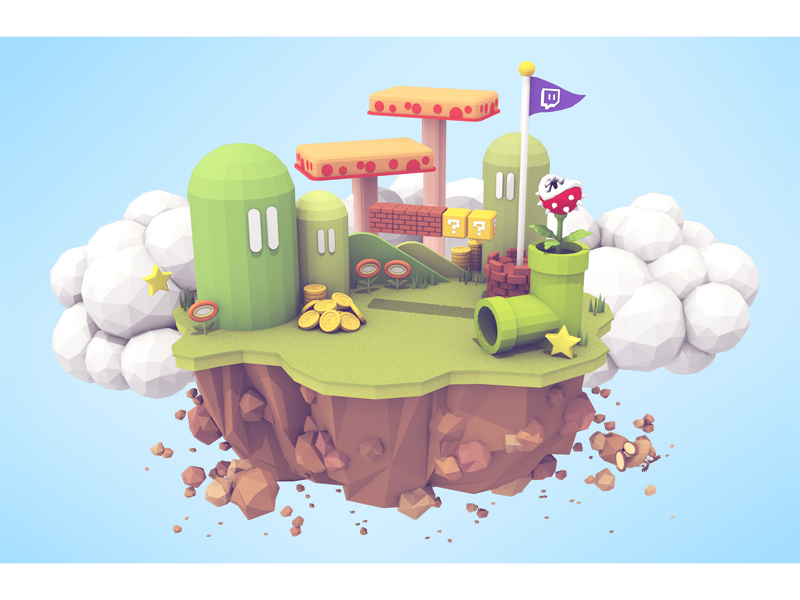
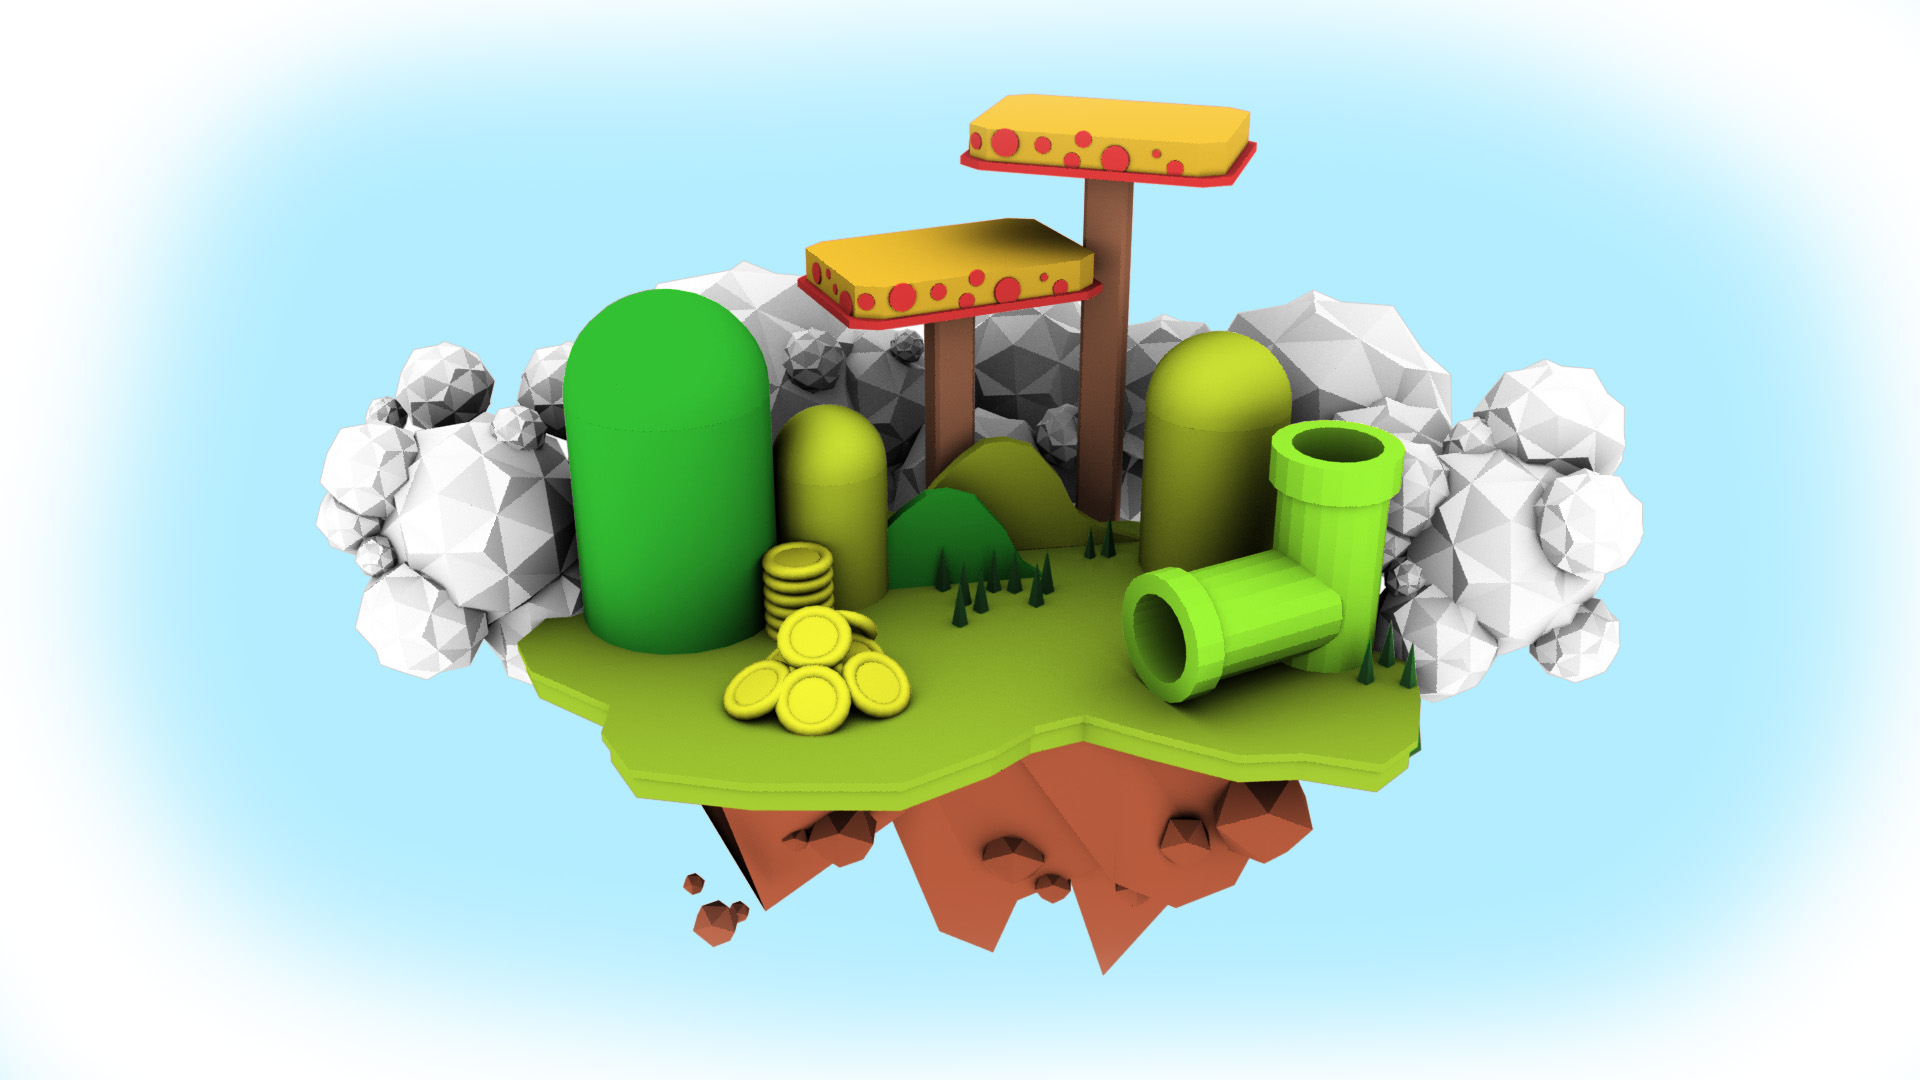
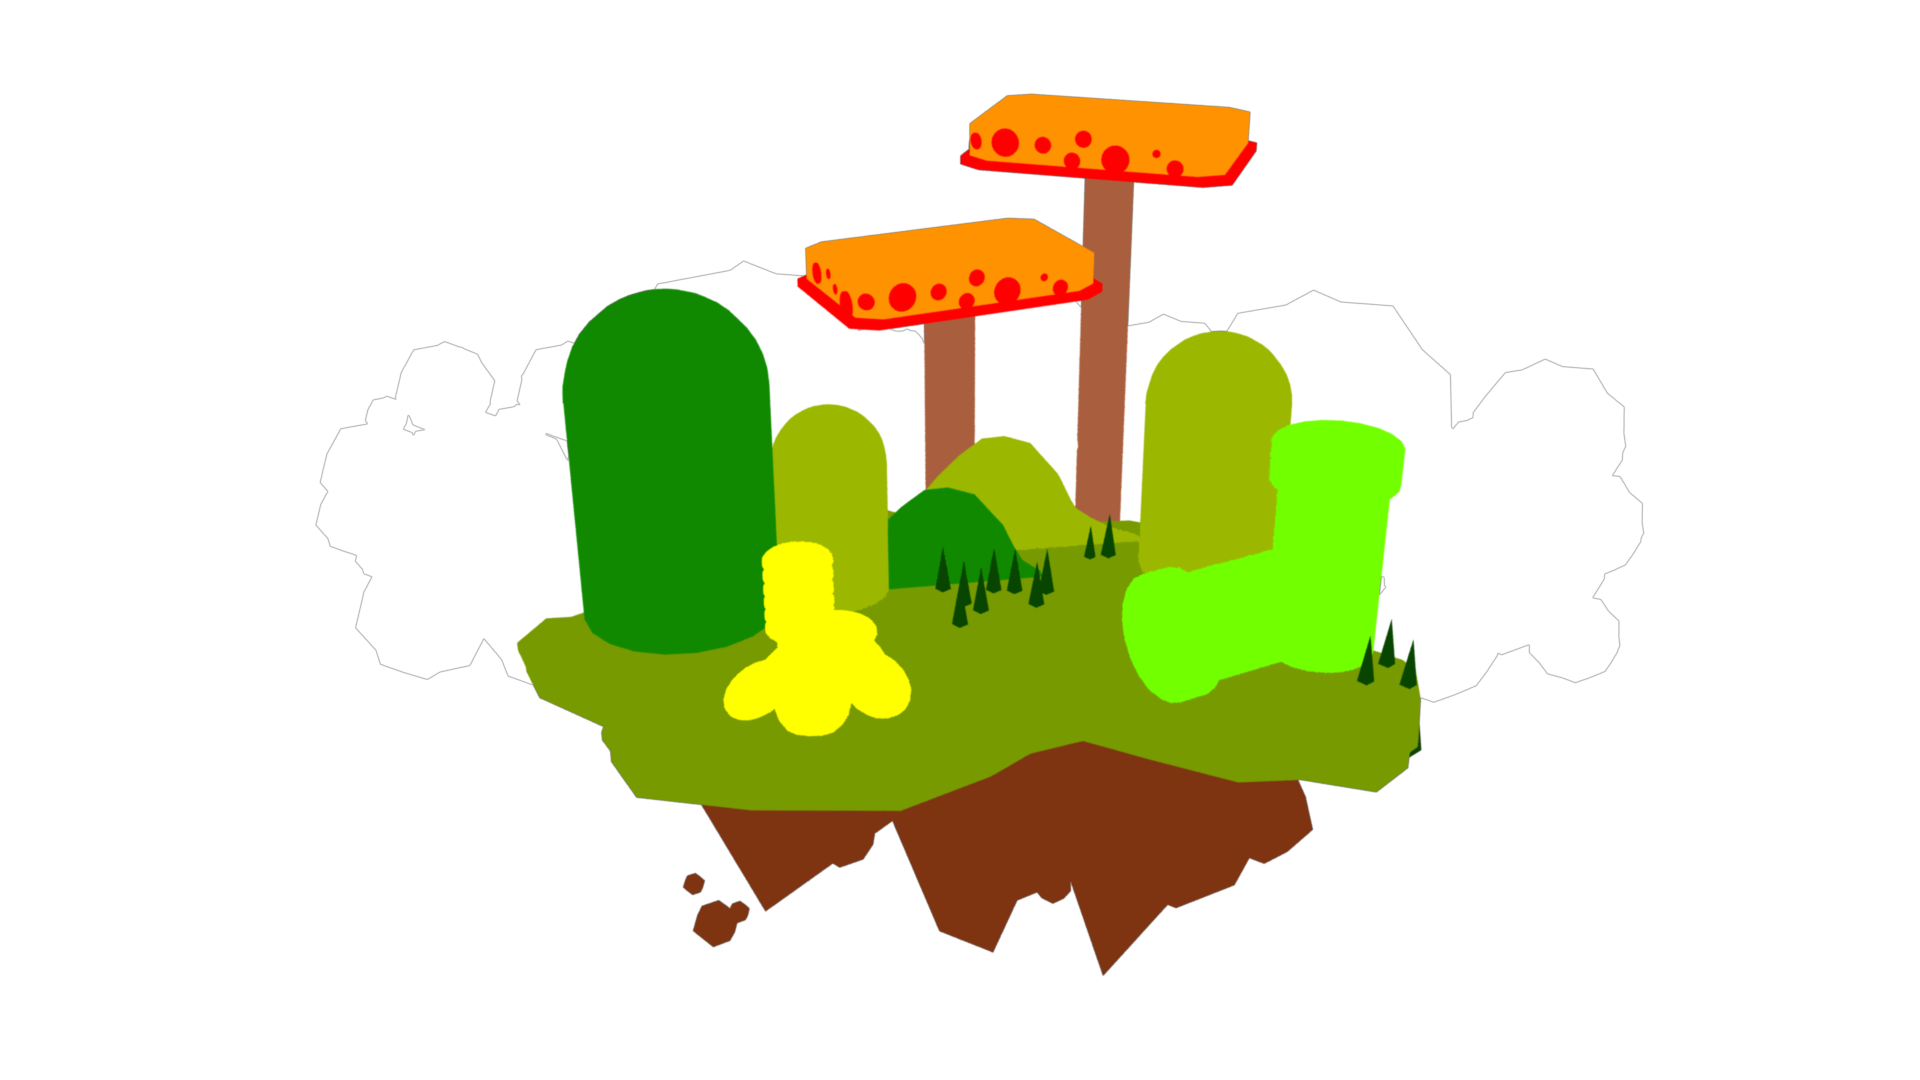
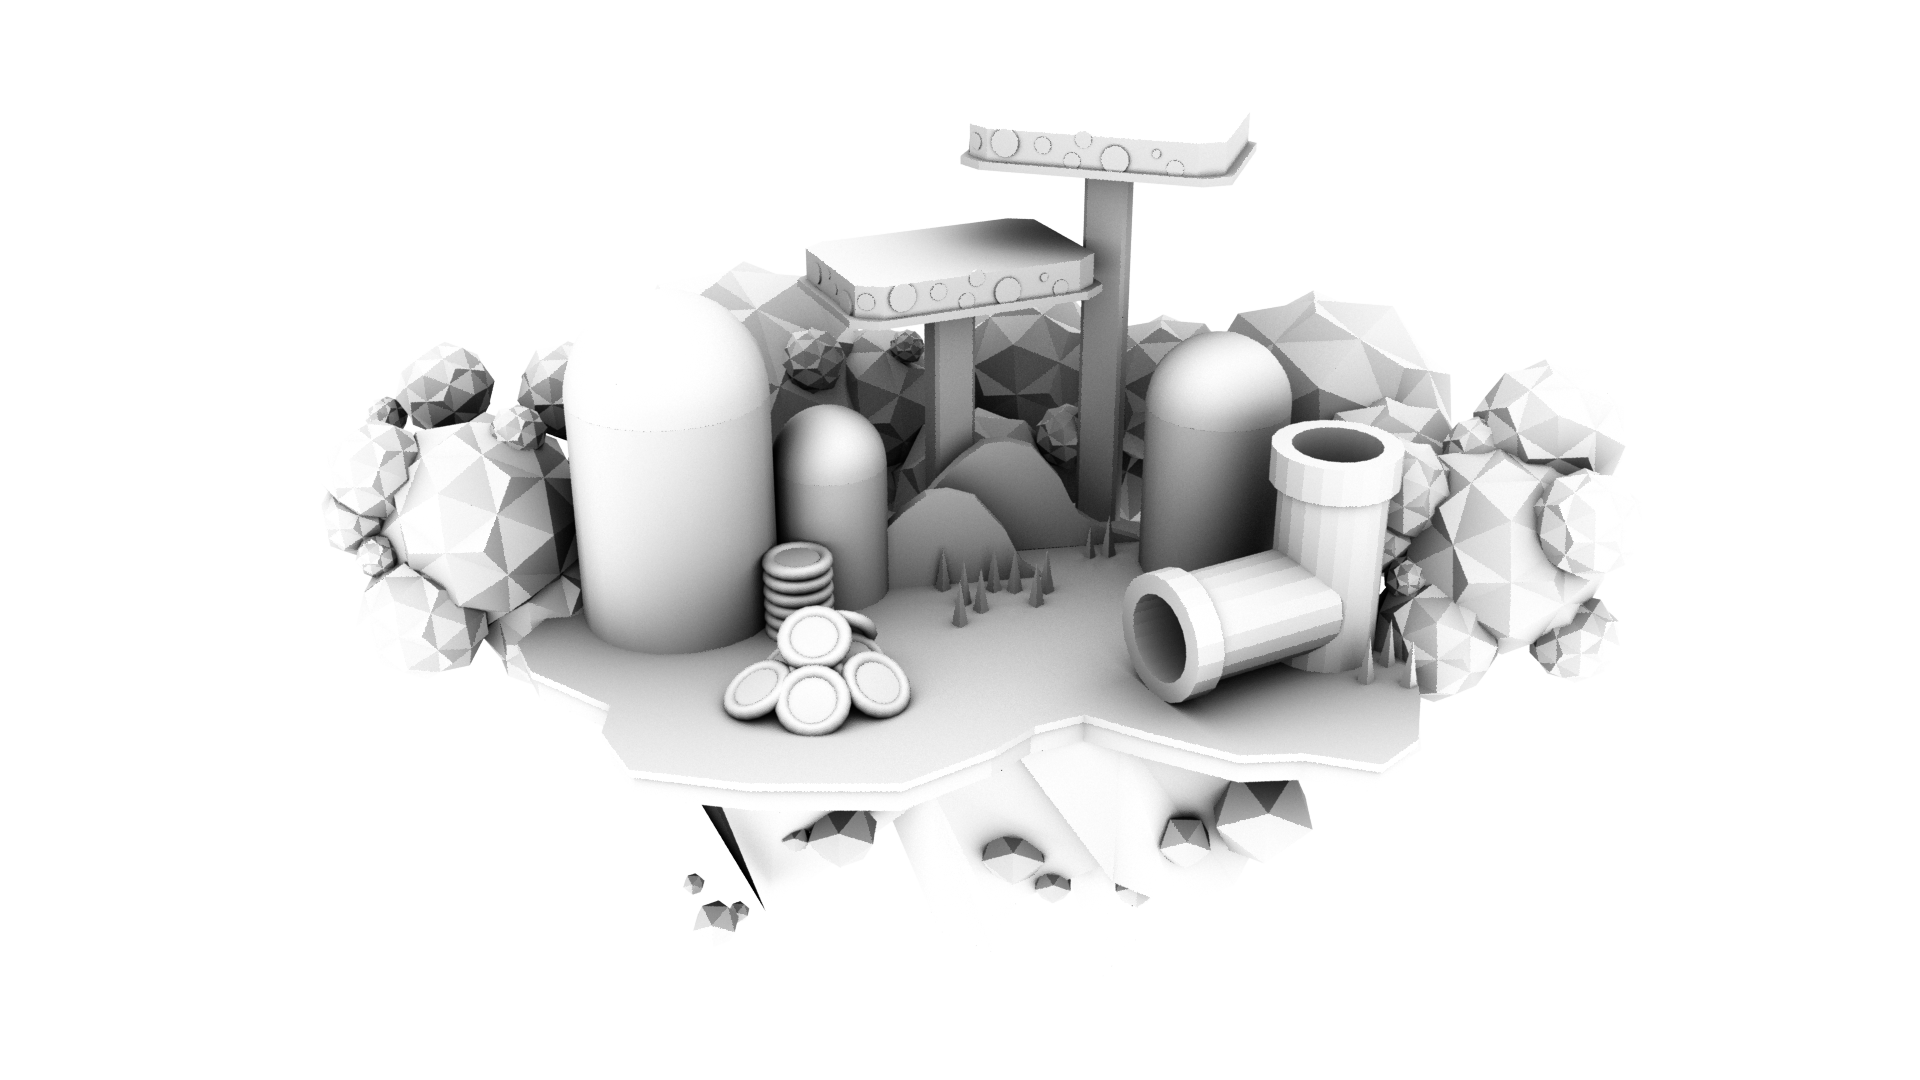
The animatic is a low-fidelity version preceding to the production of the final animation. Because my role was the 3D environment modeller and lighter, I had to practice creating environments for the montage of our final animation. For the animatic, my task was to create the environment for the lava land, floating islands, and the temple scenes.
Using Jarielle Lim’s sketches from our storyboard, I created these compositions for my assigned environments.
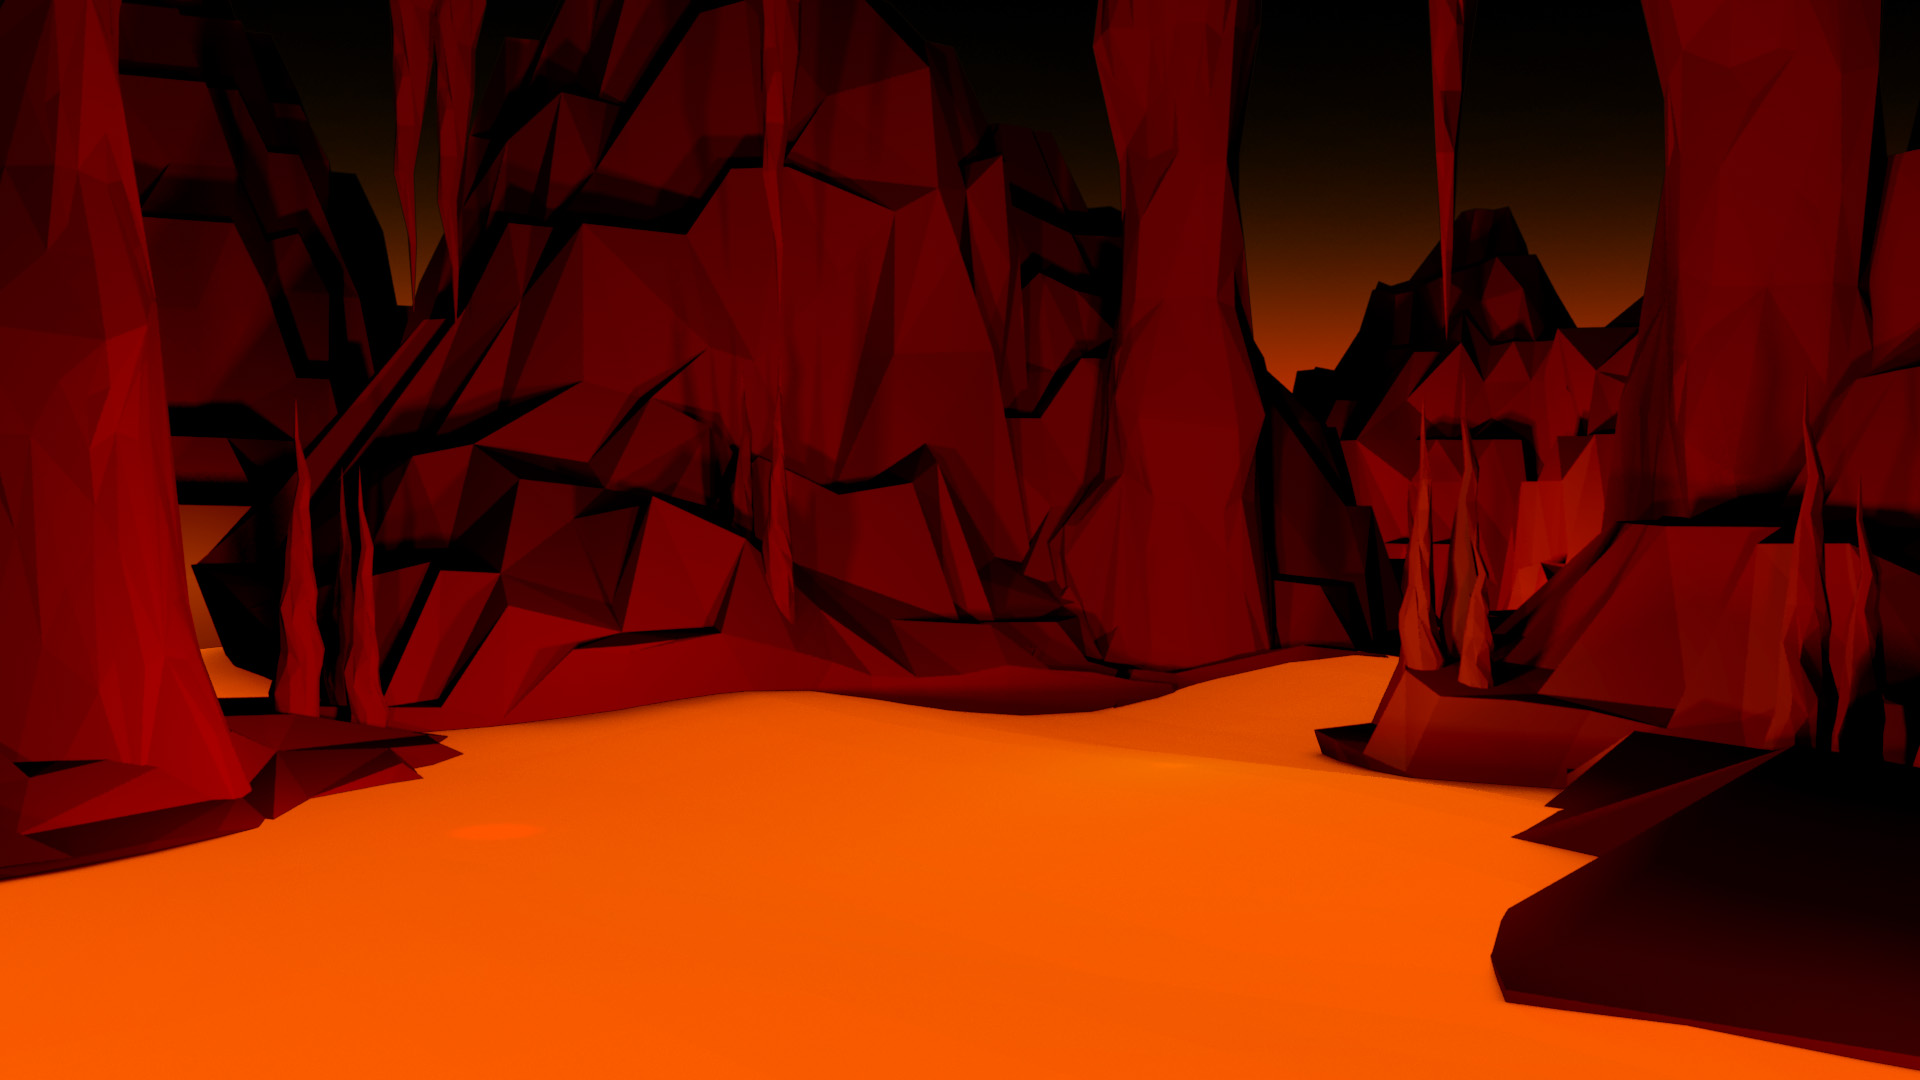
For the animatic, you may notice that the quality is lower and grainy. This was the consequence of time pressure. Rendering separate frames for each “animated” scene of the animatic took too long and lowering the quality quickened the process.
Animatic VideoFinal Animation
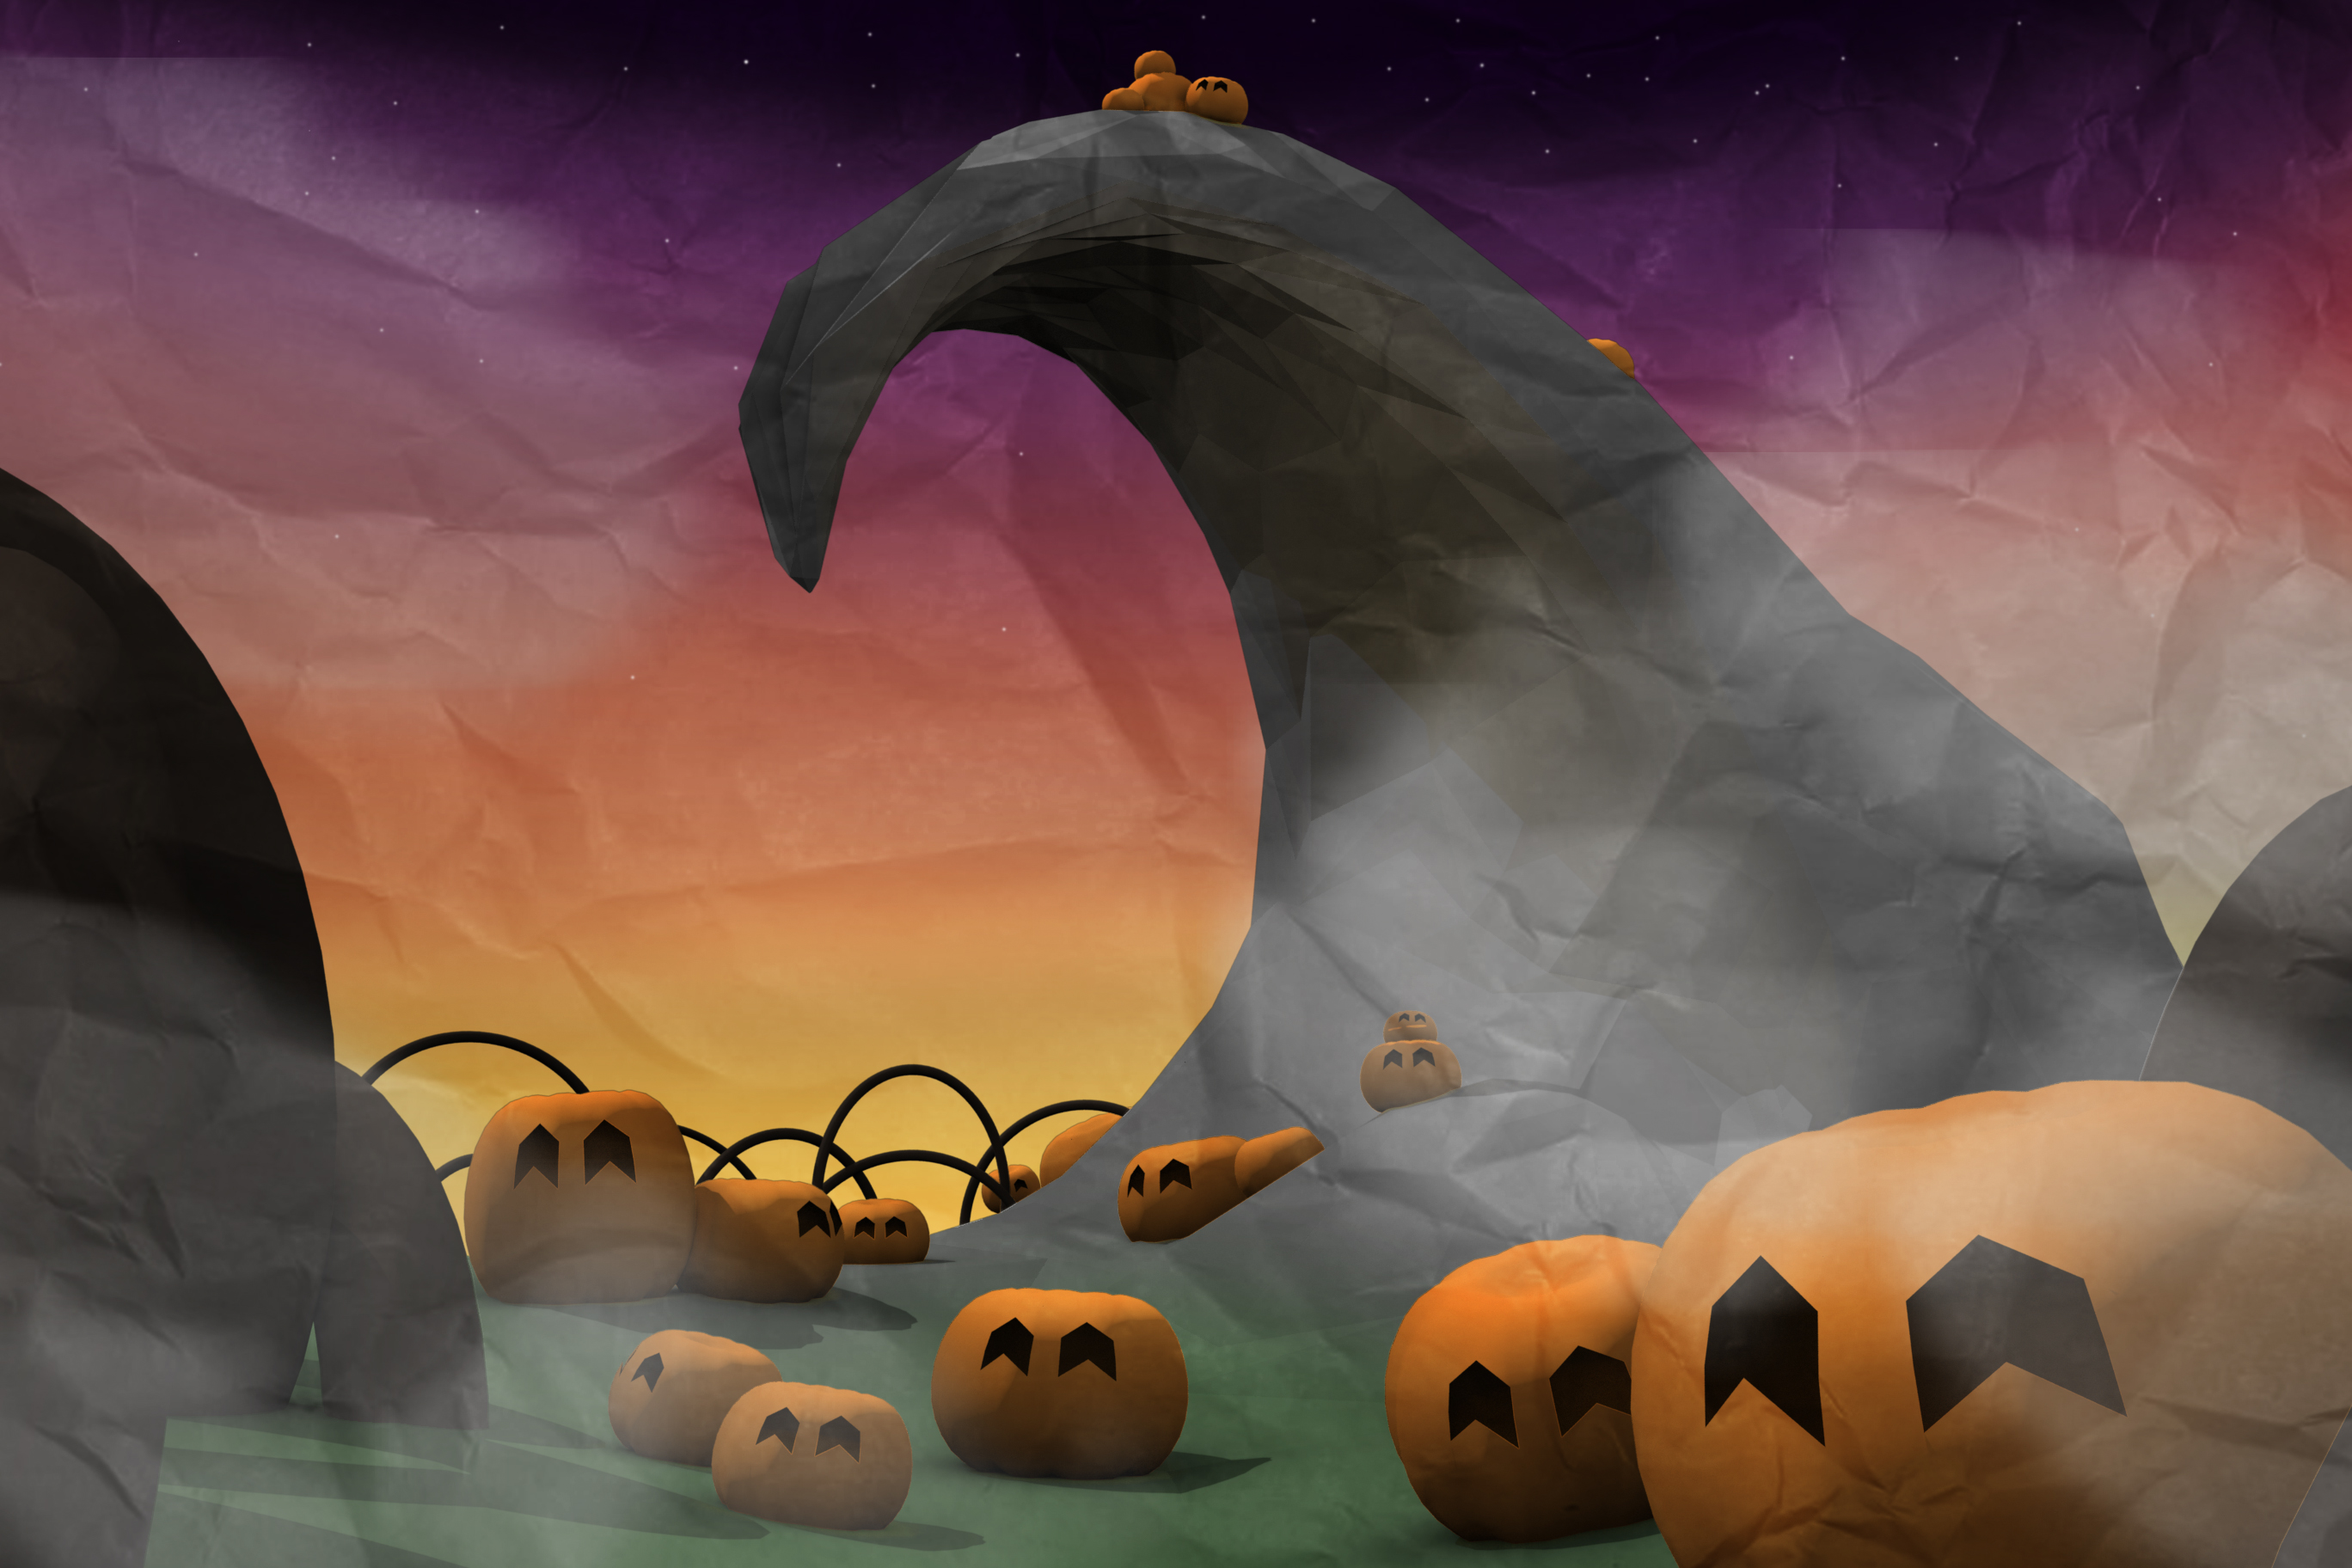
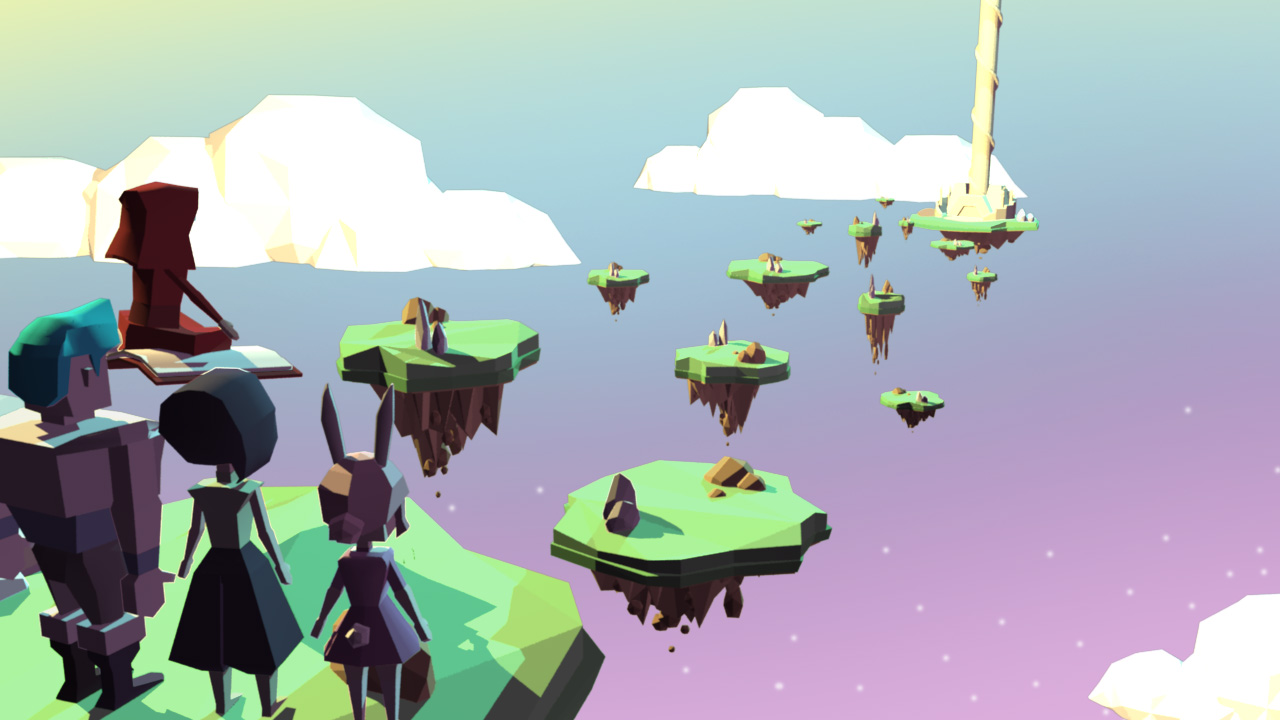
My task for the final portion of Polygone was to recreate and replace the animatic forest scene, create a new temple, fix any small details such as lighting, while also animating some scenes. However, much of my animation was improved by my teammates because I was too focused on modelling.

Furthermore, in this work pipeline, our team was divided between modelling, animating and post-production. While I created the environmental models, my other teammates were animating, and rendering. This multi-tasking process was very effective in working around the giant chunk of time wasted, waiting for each frame to render in Maya.
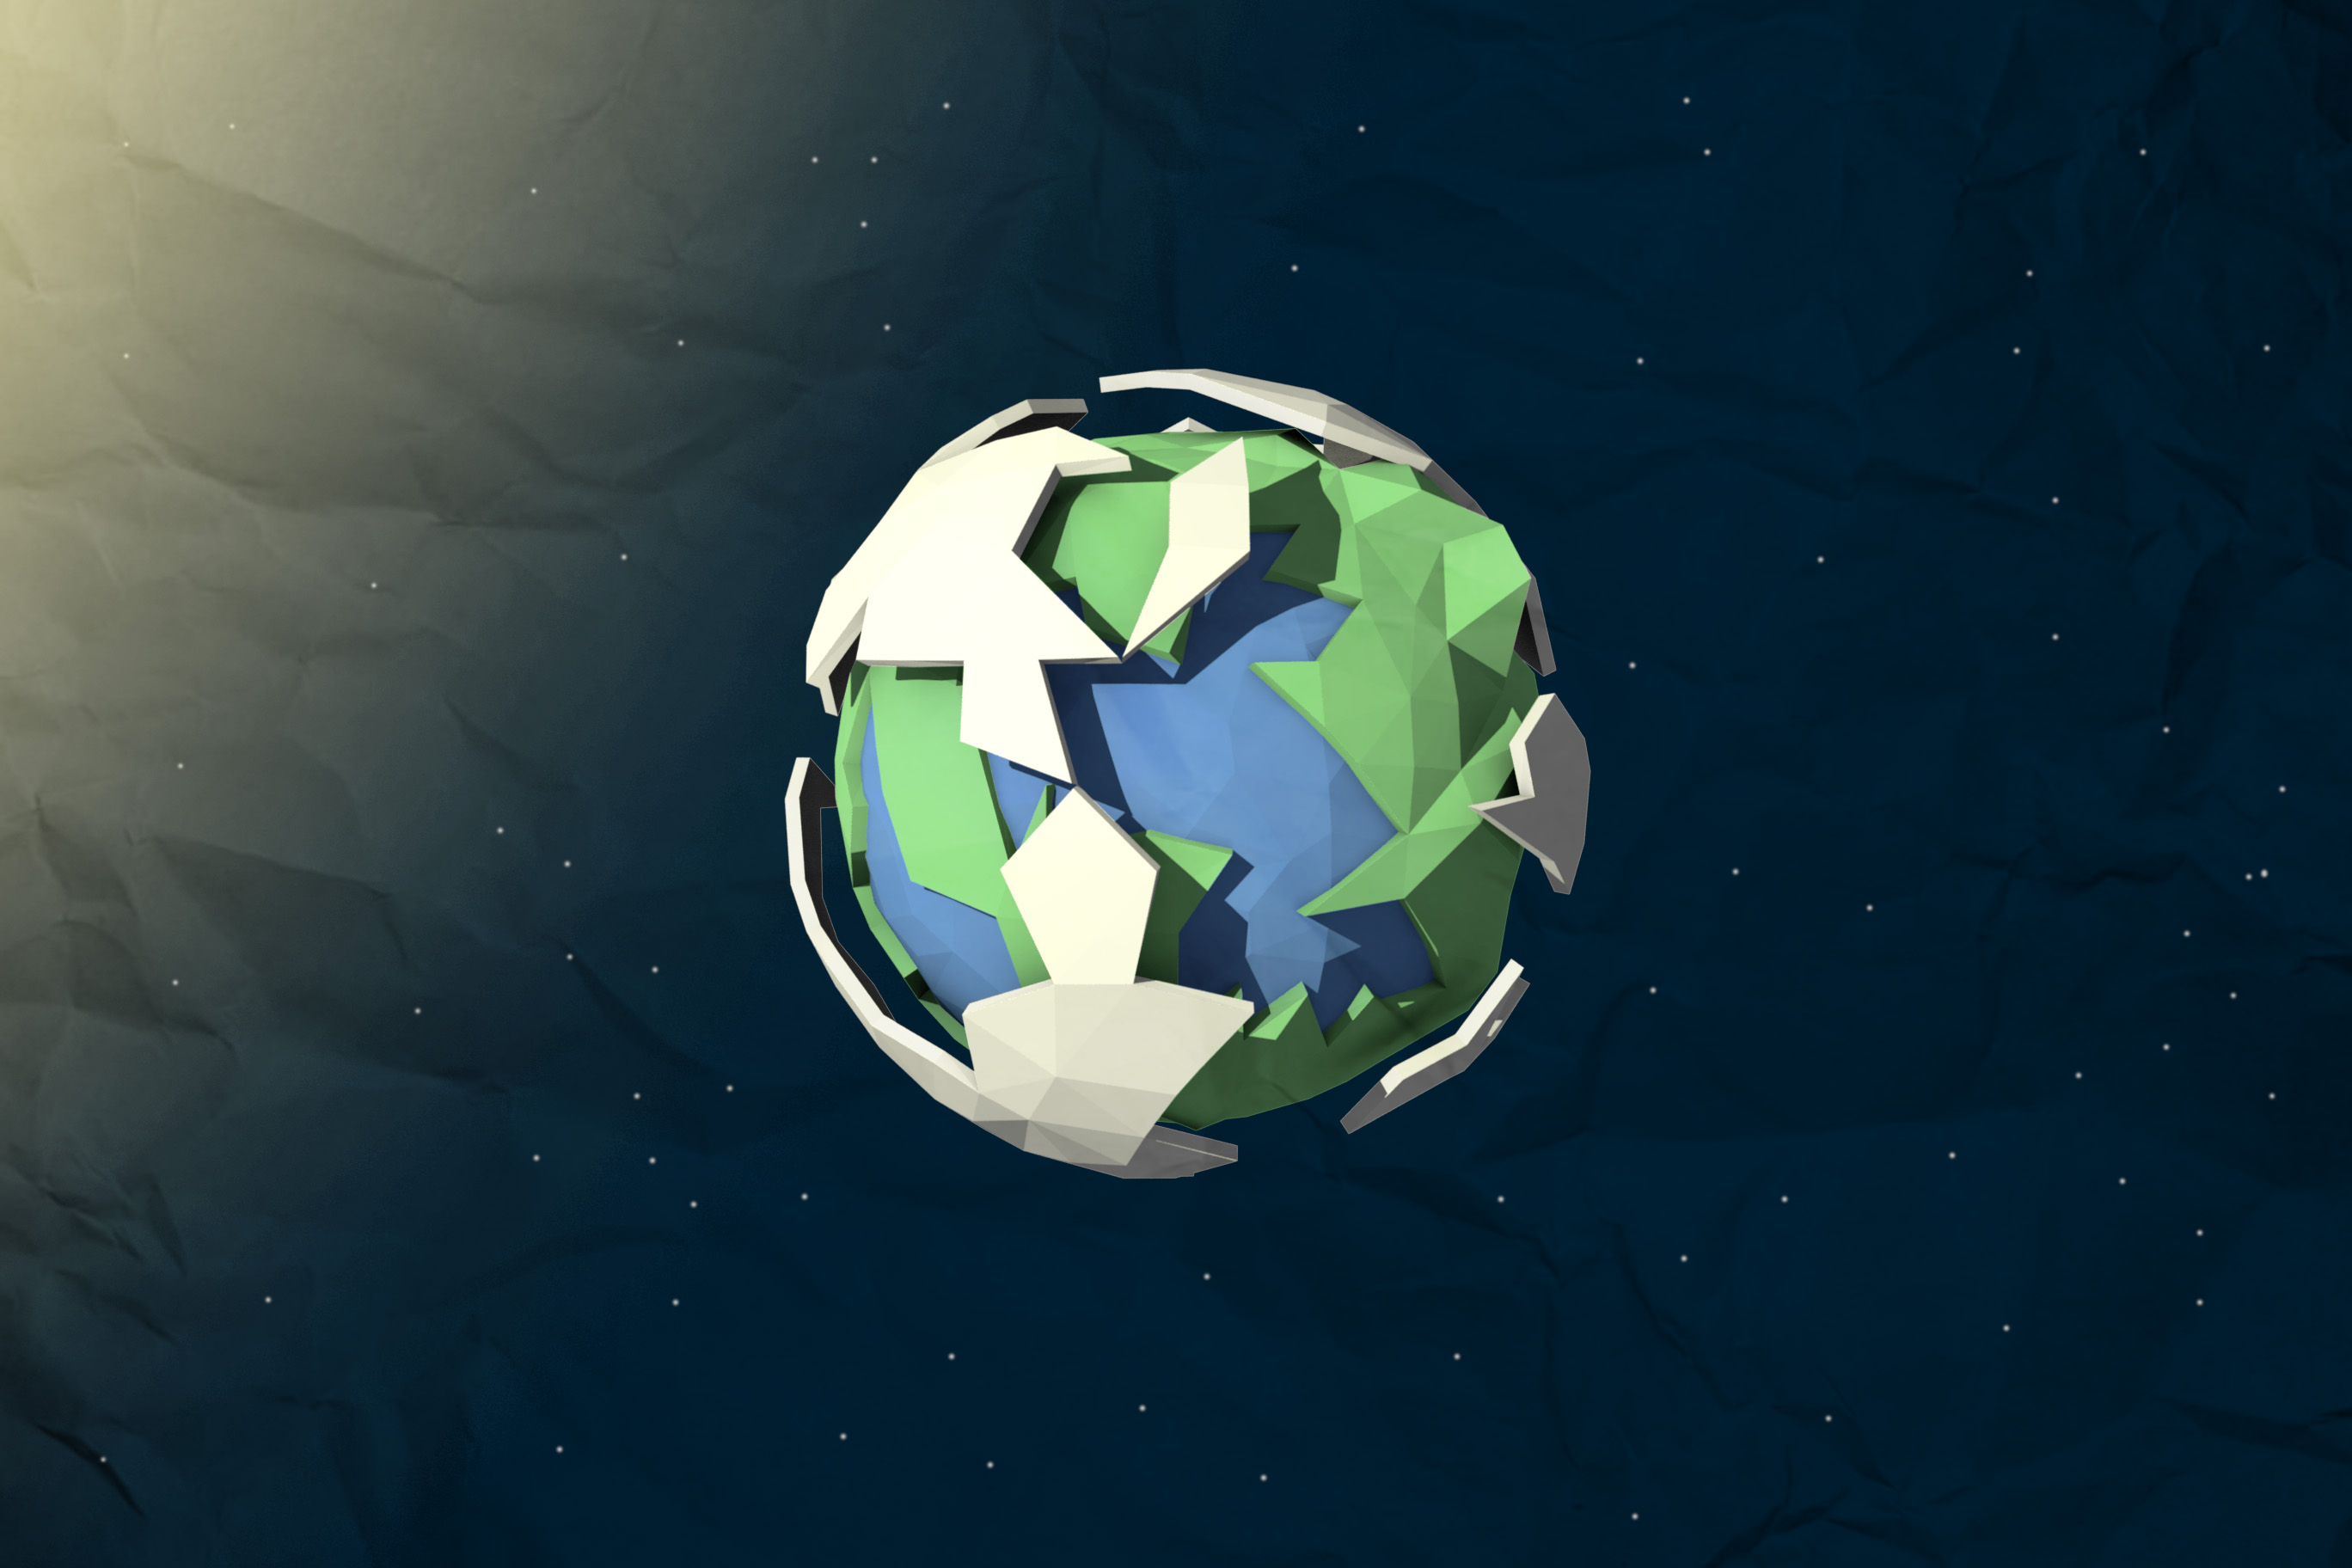
This is our final product. Note that the background and lighting for the Island scene was changed by Jarielle Lim.
Final Animation VideoFor the final animation, there was even less time to finish the final product. To adapt to the situation, I had to sacrifice one layer from the low-poly art style (removing the occlusion layer). Much like creating a single composition in Photoshop, creating the same art-style requires us to render the scene three times (in colour, occlusion and light layer). Then we combine all scenes is a video-editing software and layer them on-top of each other much like how I combine them in Photoshop. The light layer consisted enough shadows to act as a crude (hopefully not noticeable) replacement for the occlusion layer.