TECHNOLOGY & CHRONIC PAIN
A documentary video for the School of Interactive Arts & Technology's Pain Lab at Simon Fraser University.
ROLE
Lighting, Filming, Audio Recording, Editing.
TOOLS
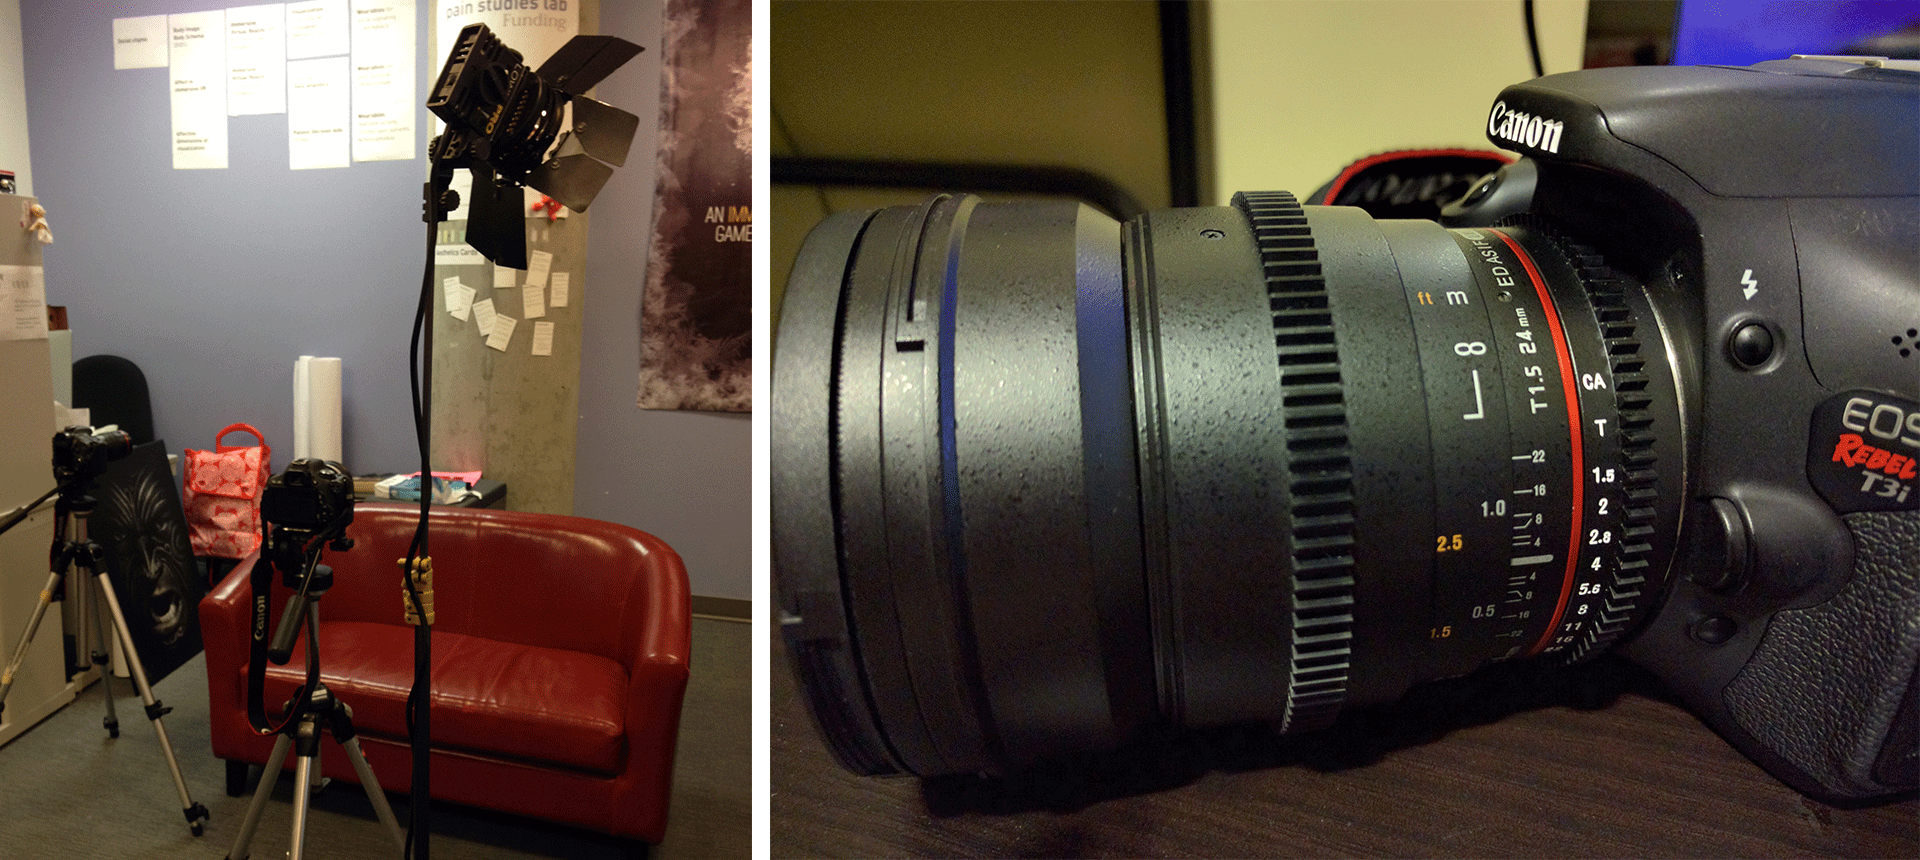
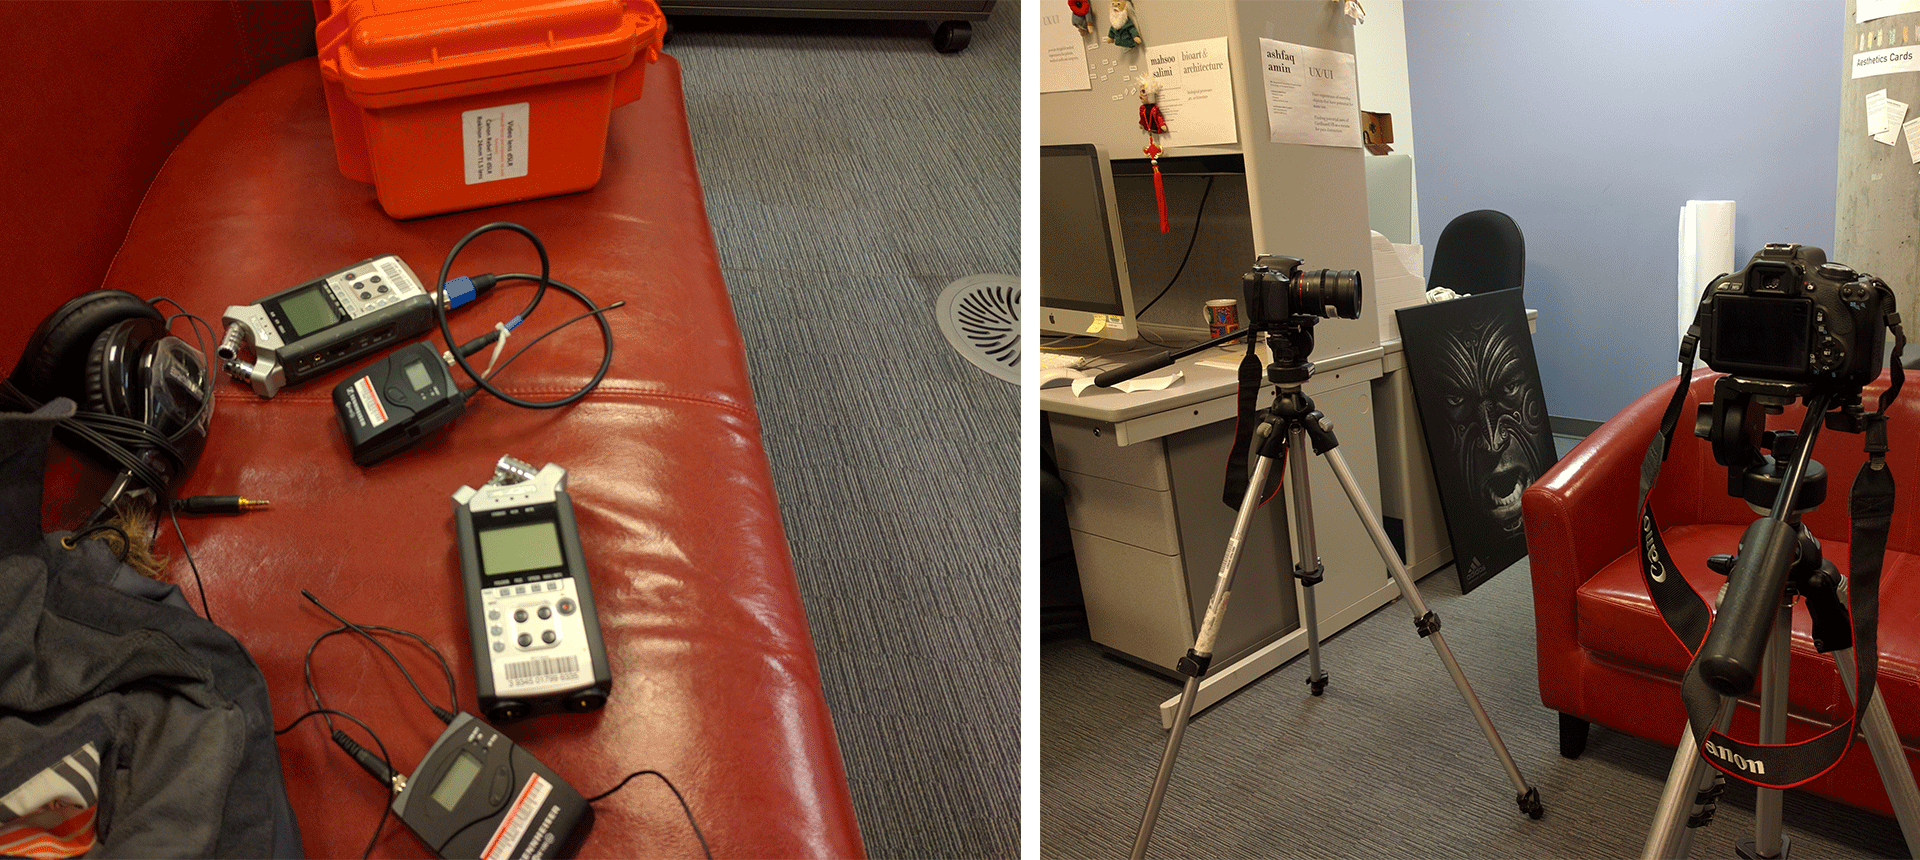
Canon DSLR Camera, Rokinon Lens, Small Lighting Kit, Zoom H4N, Wireless Lavalier Mic, Slider, Premiere Pro, After Effects.
TEAM
Adel Ashnaei, Joy Chen, Sungmin Park.
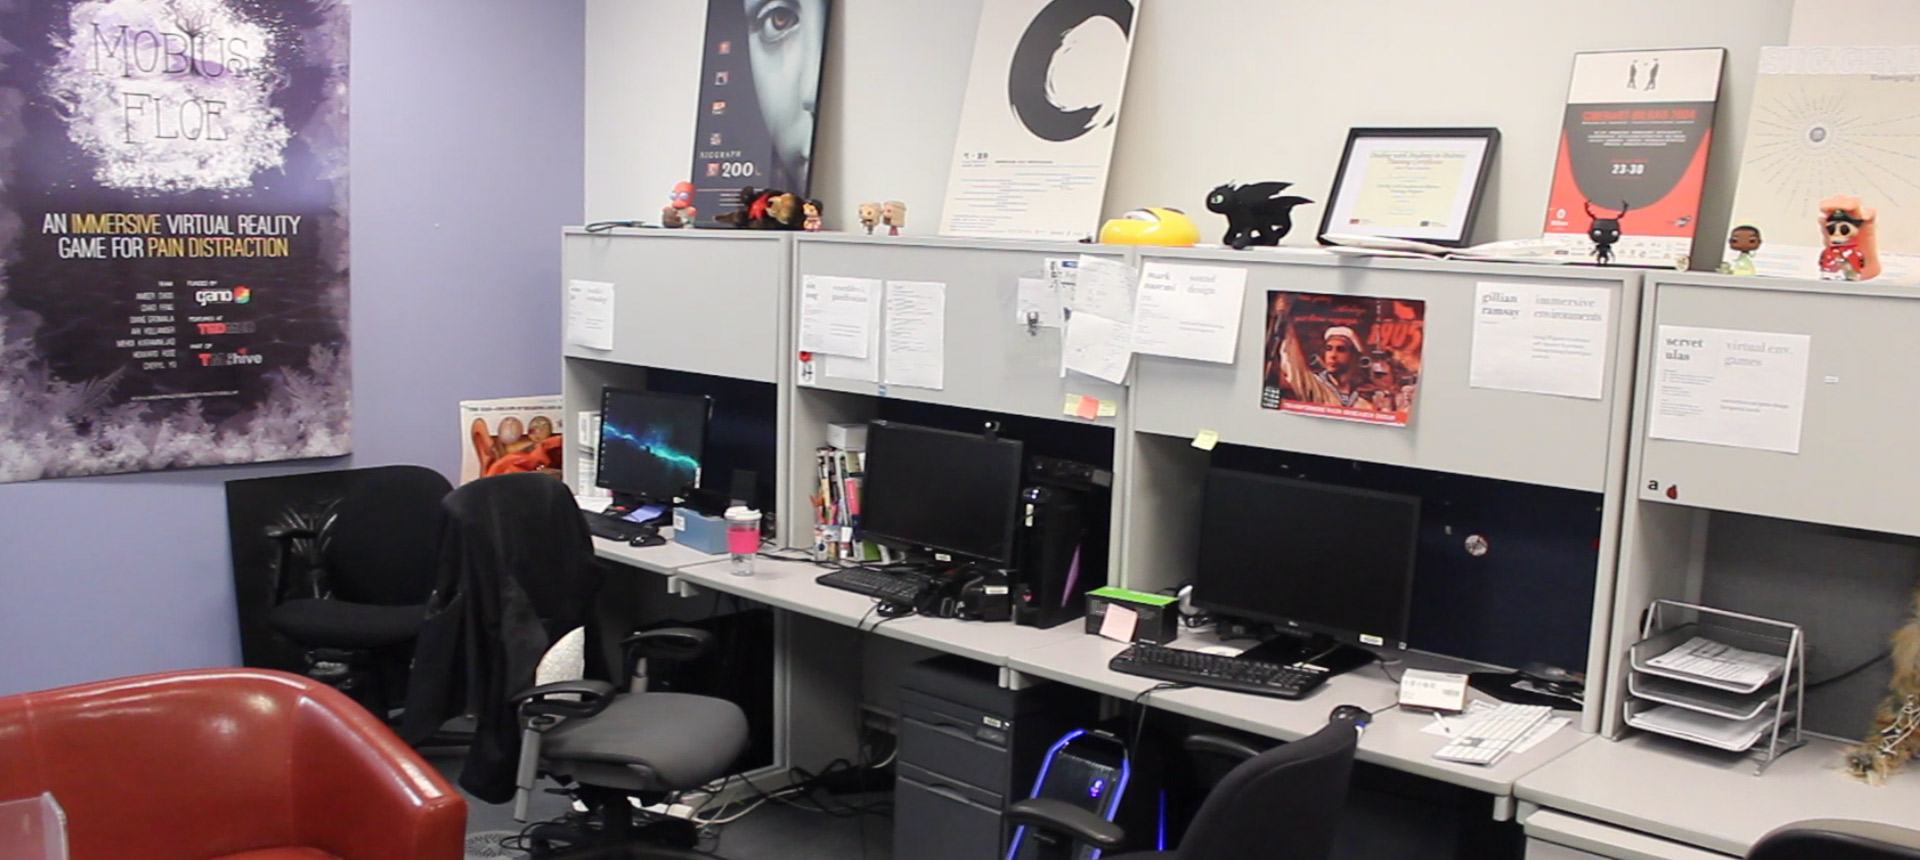
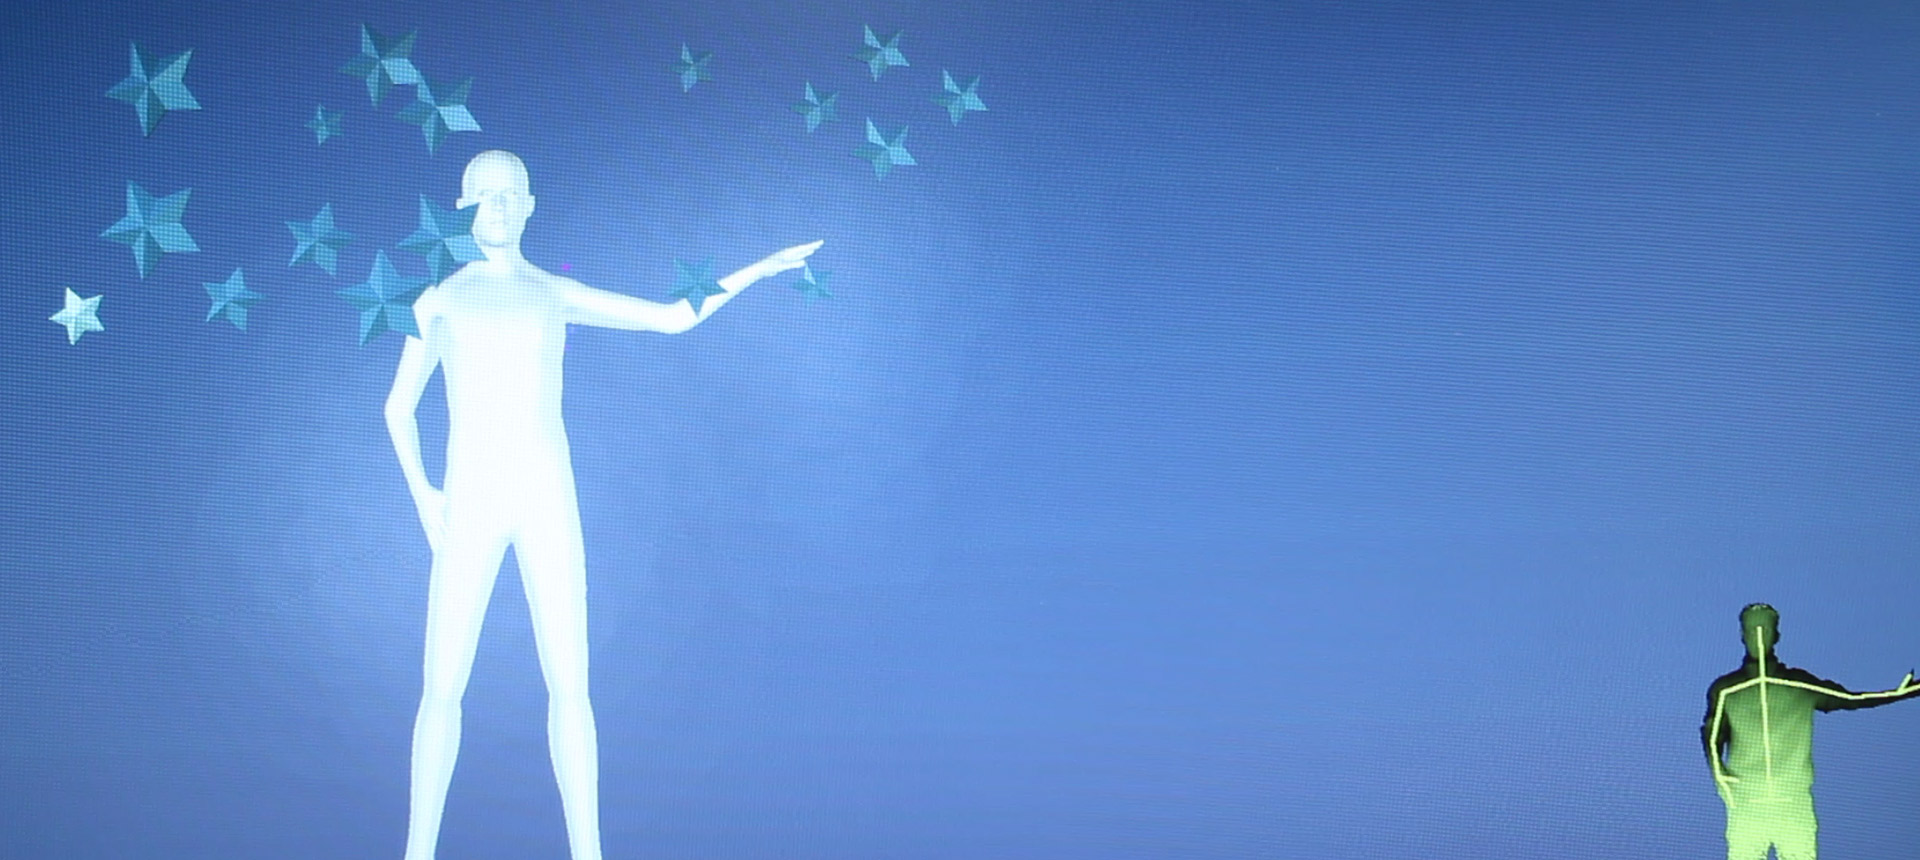
My two teammates and I produced this documentary for the pain lab in Simon Fraser University, as a final project for a film course. The most time-consuming processes of this project were filming enough footage and figuring out the suitable pieces for a well-designed documentary narrative. We aimed to combine the interview and the detailed footage to establish a better understanding of what the Pain Lab does.
PRE-PRODUCTION MEETING AND PREPARATION FOR FILMING
First, we visited our client Diane Gromala Canada Research Chair and the head of Pain Lab to get information about what they do in the lab. After meeting her, we understood what their research is, and what expectations she had for our film. Basically we figured out what the video will be about, and the challenges we face, which were: how to show what chronic pain is and how Virtual Reality (VR) helps the patients, the other was how to put all the information in a 5 minutes video.
FOOTAGE FILMING AND RESOURCE COLLECTION
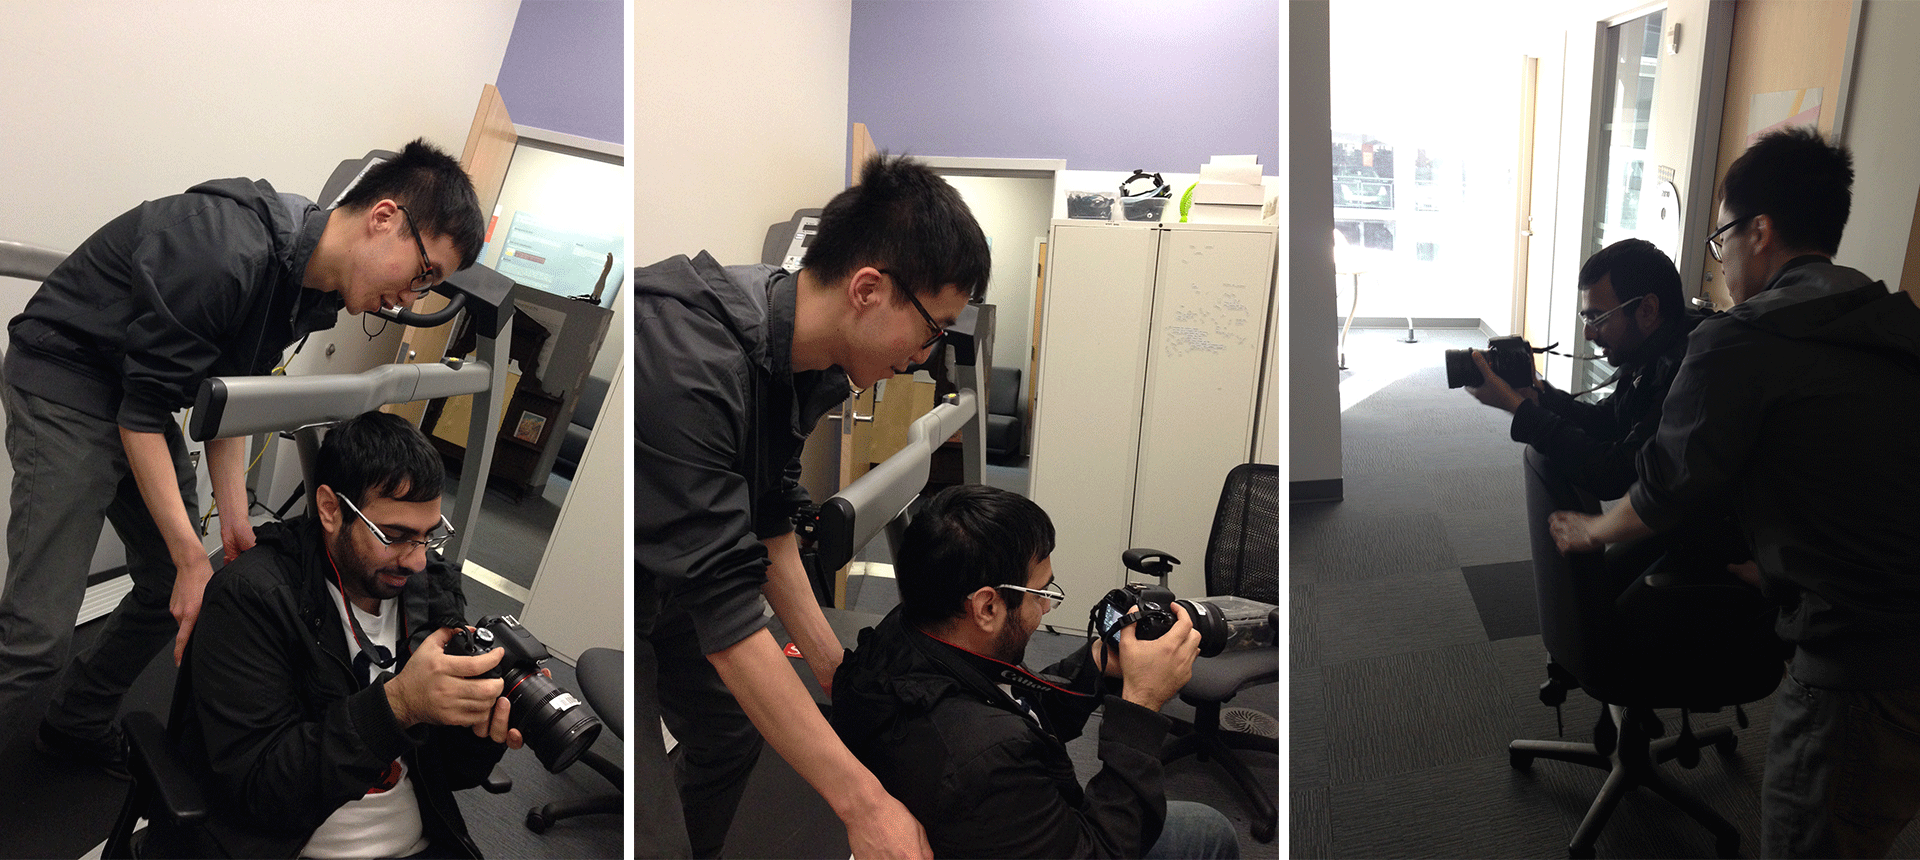
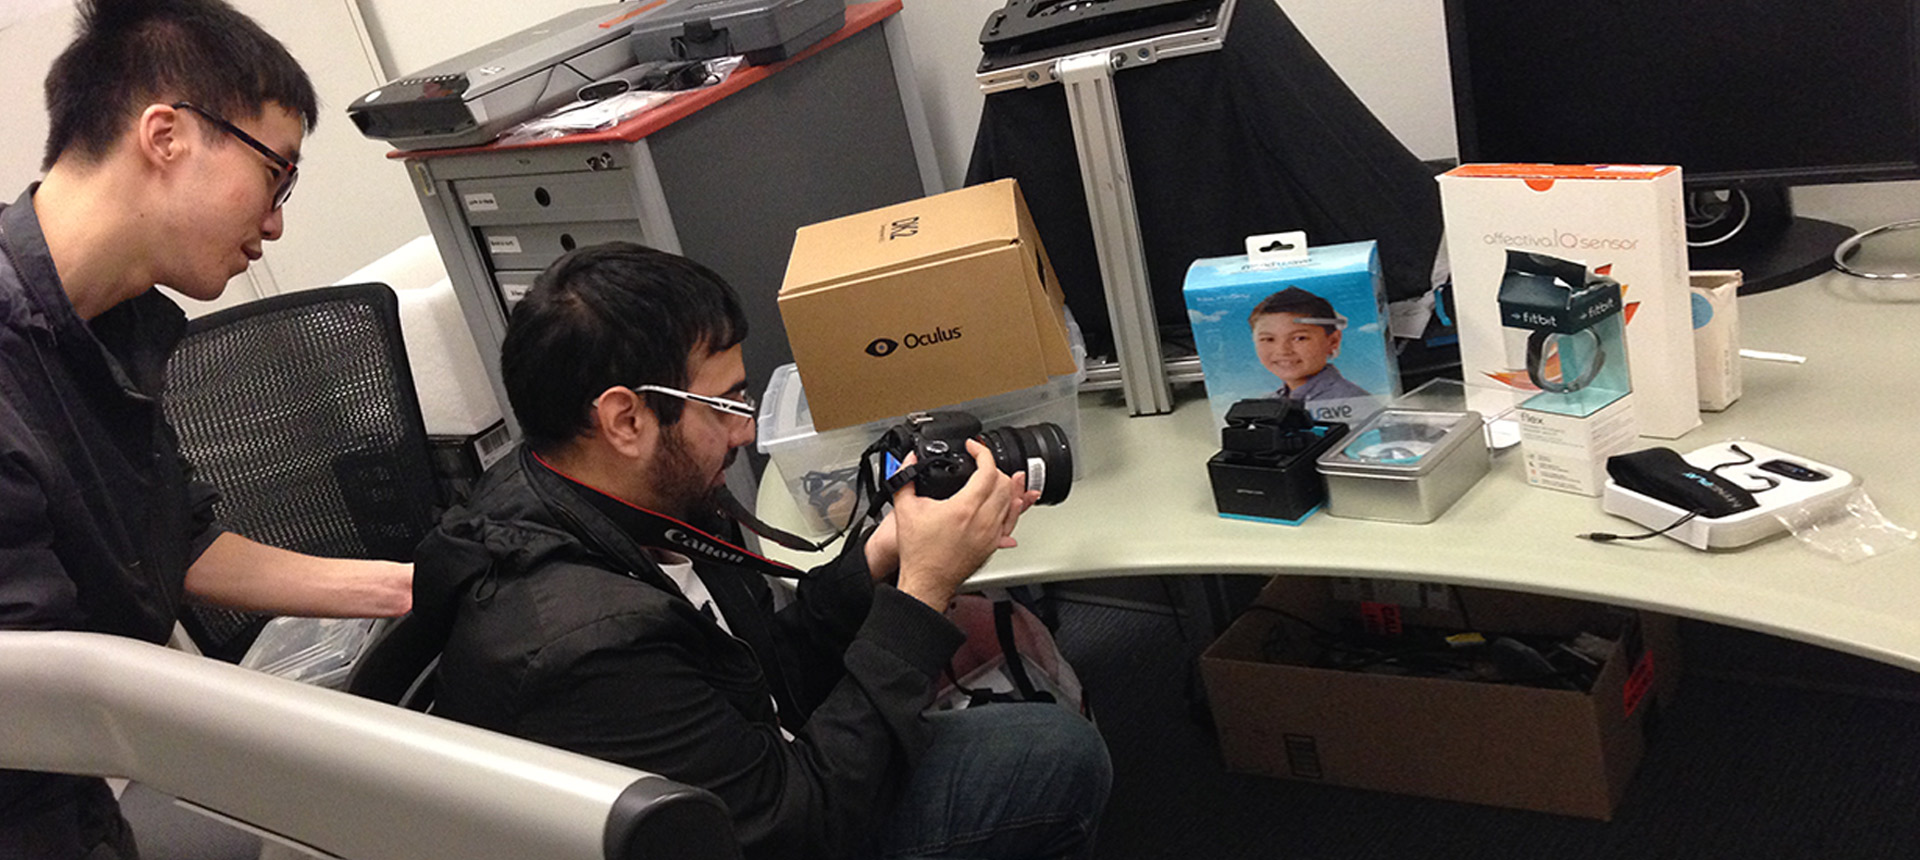
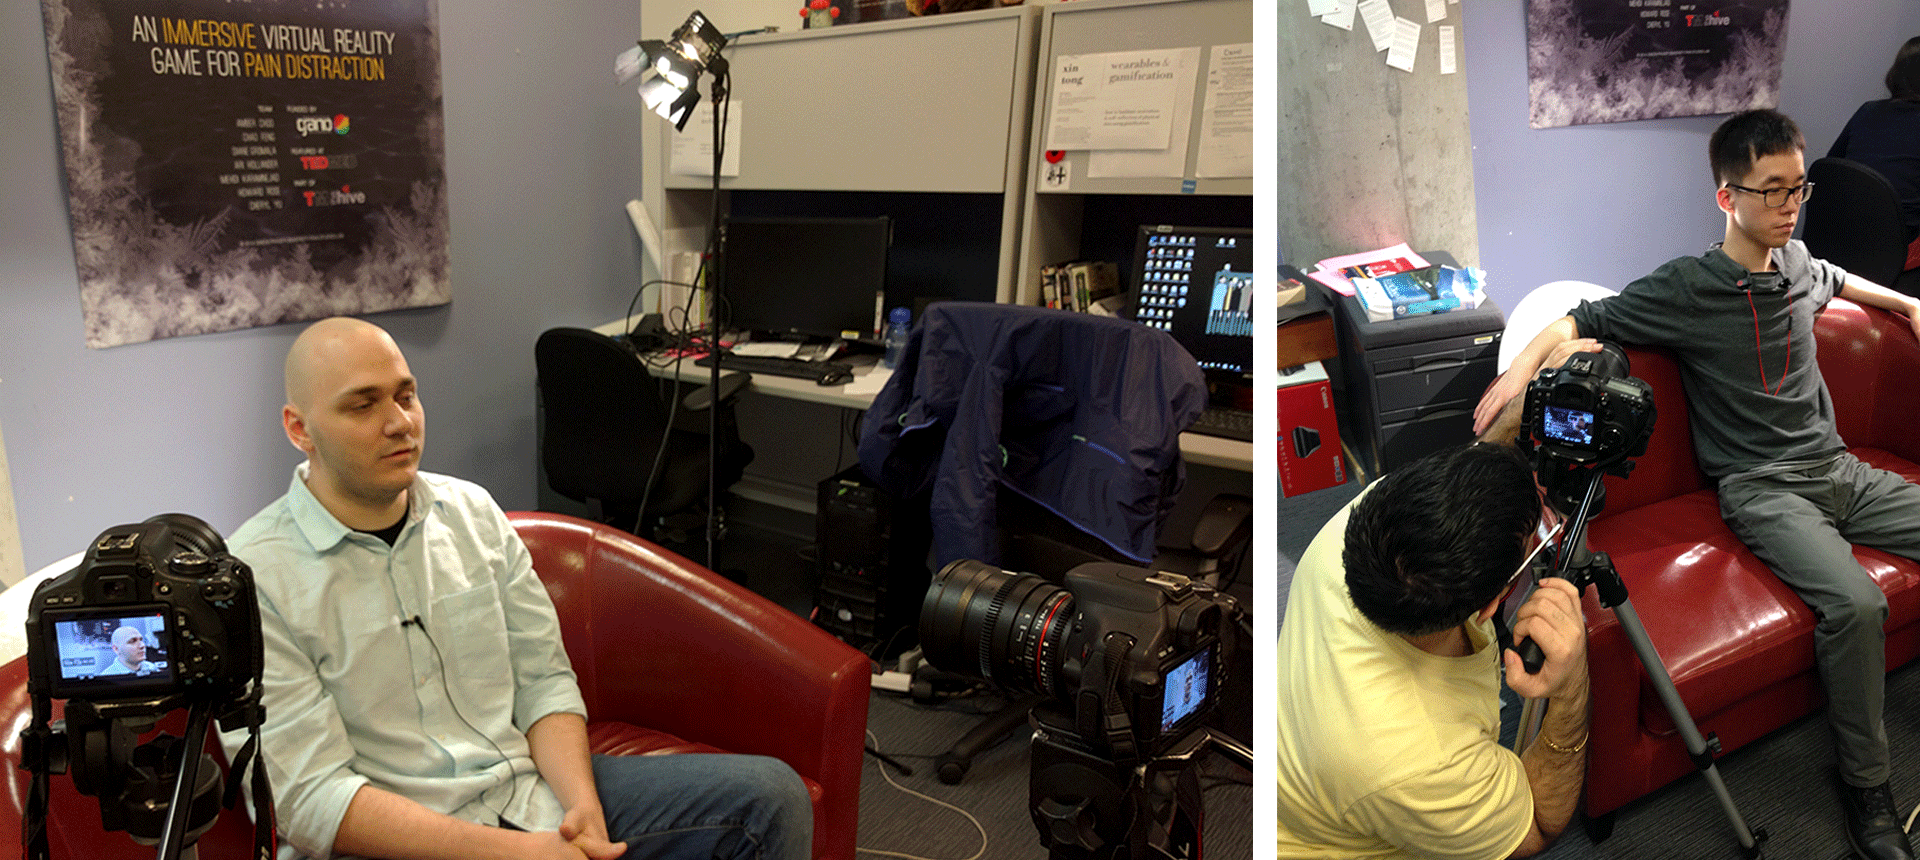
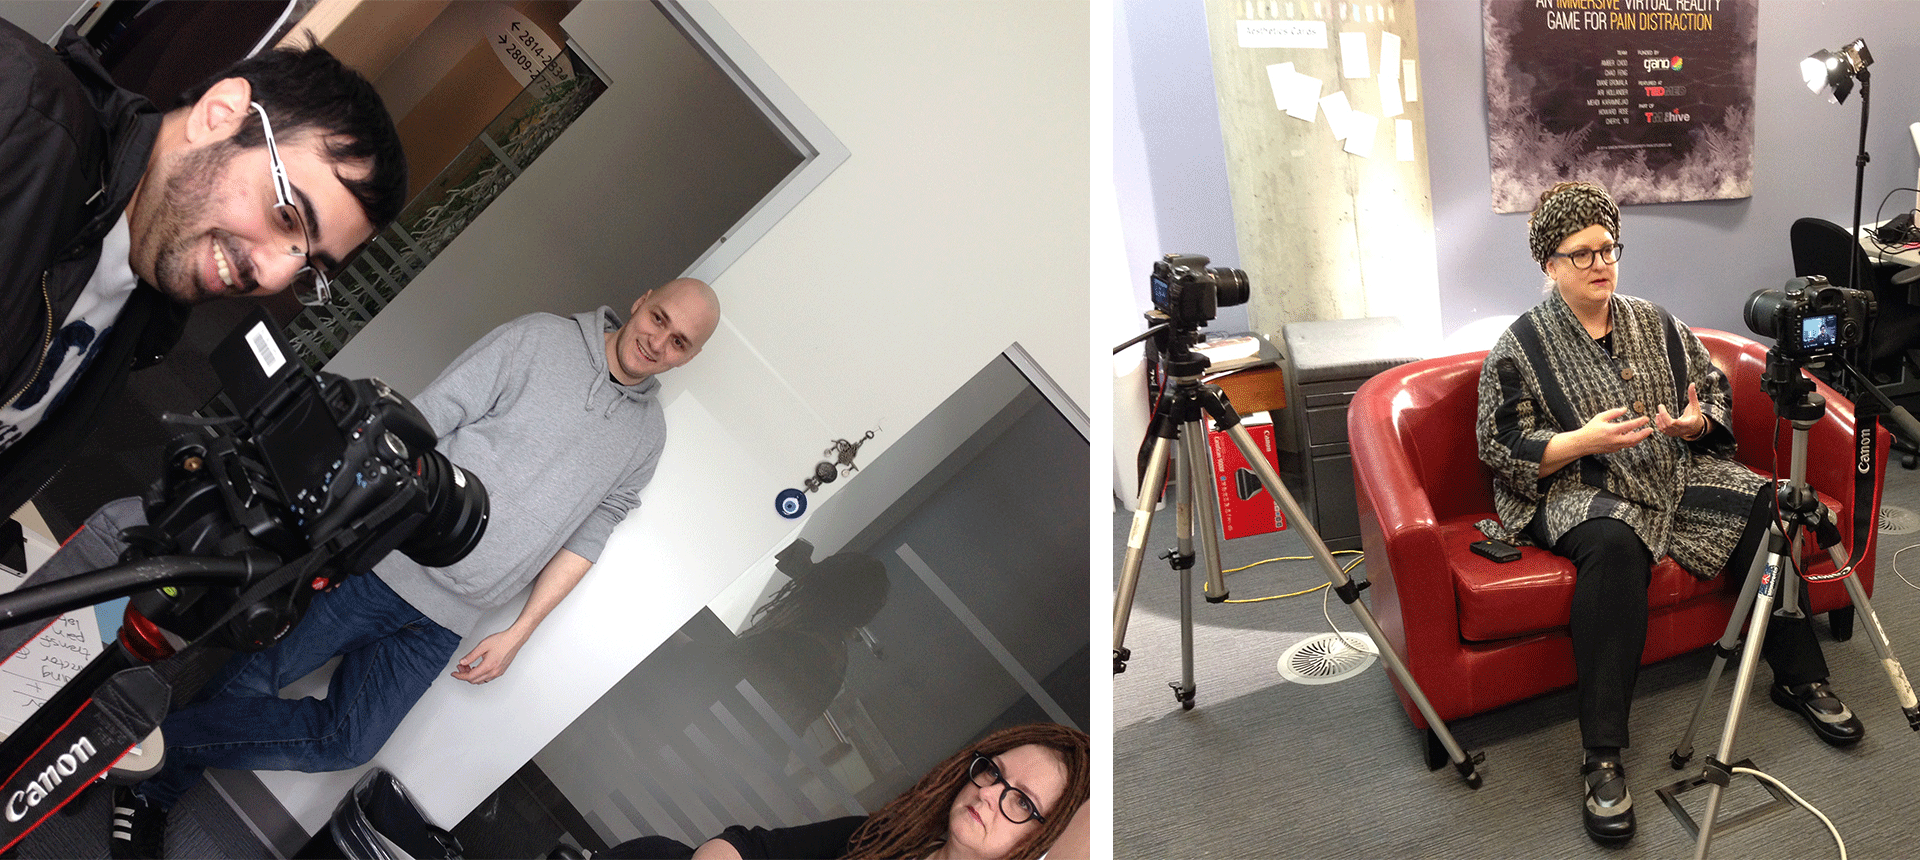
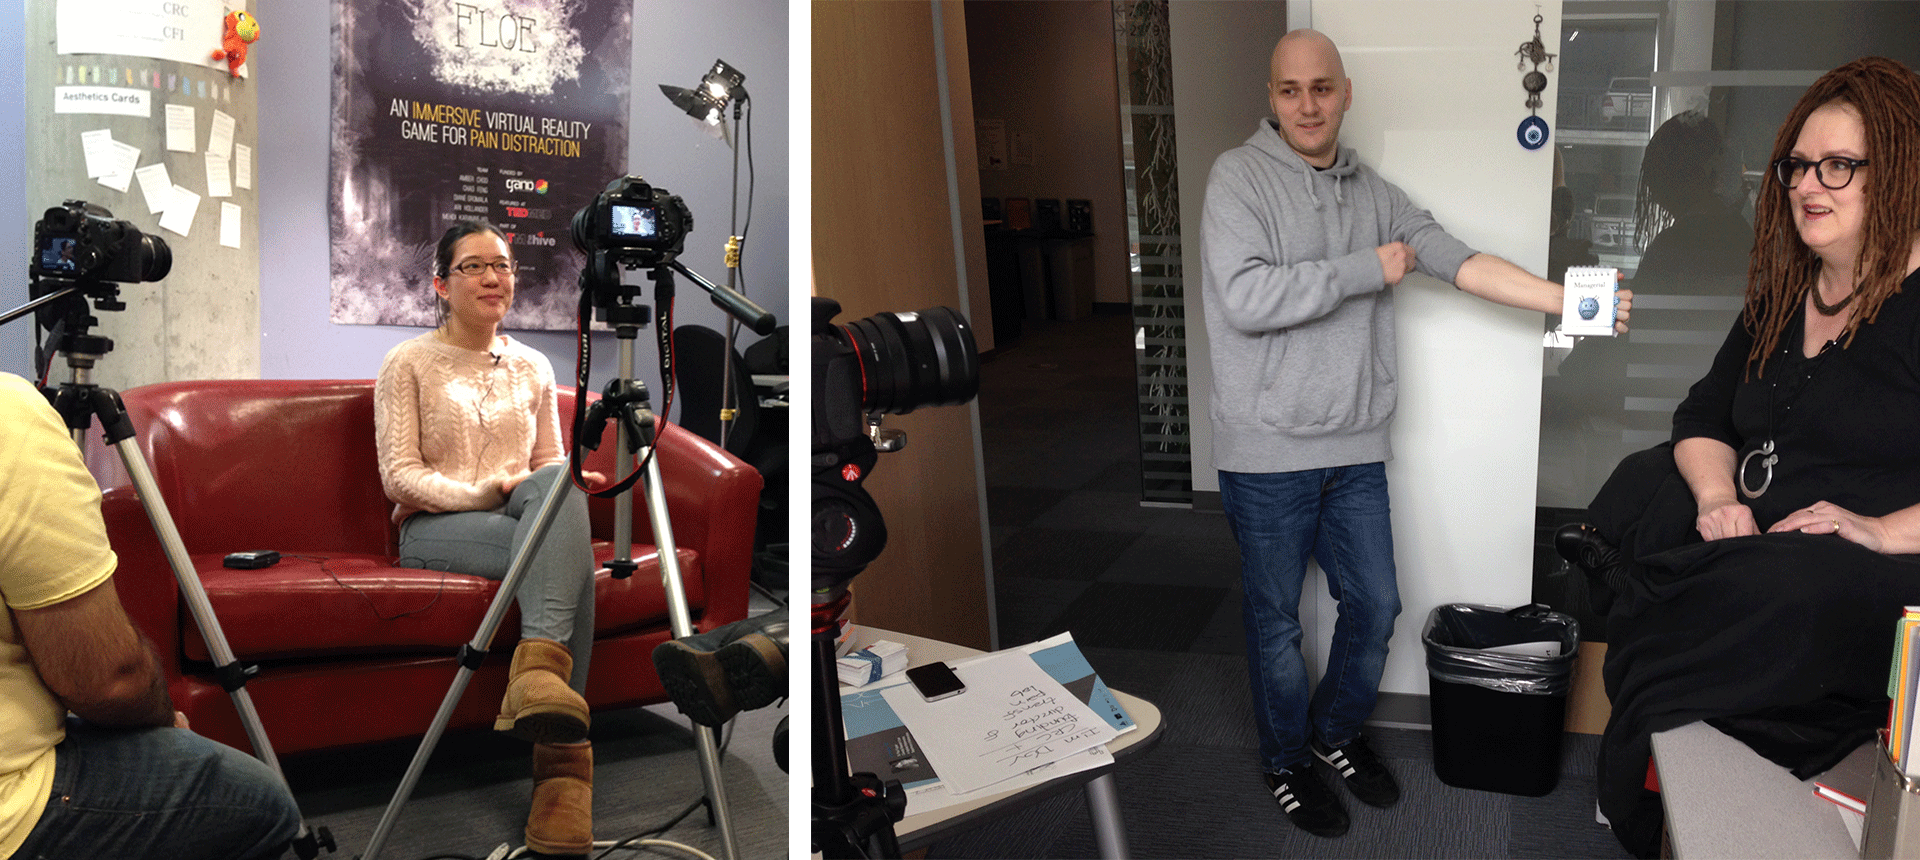
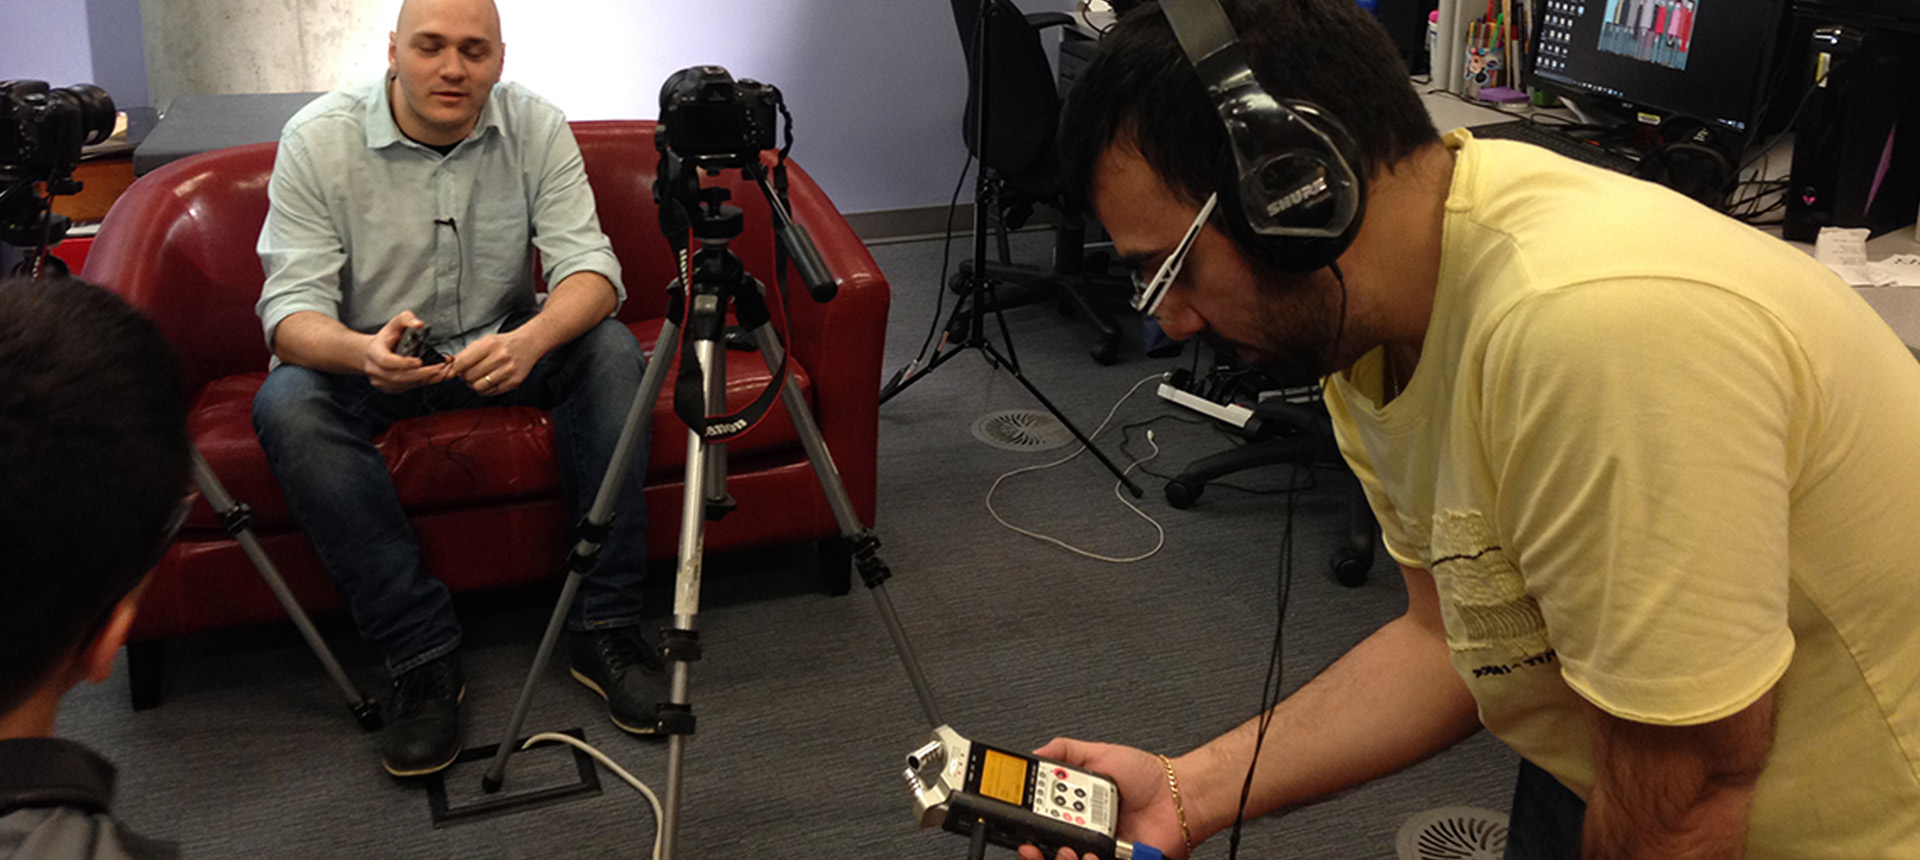
We filmed Diane several times with different backgrounds, and lighting. We had to film several times, because we encountered audio problems or we didn’t like how the angle of the footage looked. We learnt how to solve problems and setup the equipment faster as we progressed through the project. After our first draft, we had to interview Diane again, because her answers where too long and we couldn’t fit all her answers in a 5 minutes video.
POST PRODUCTION
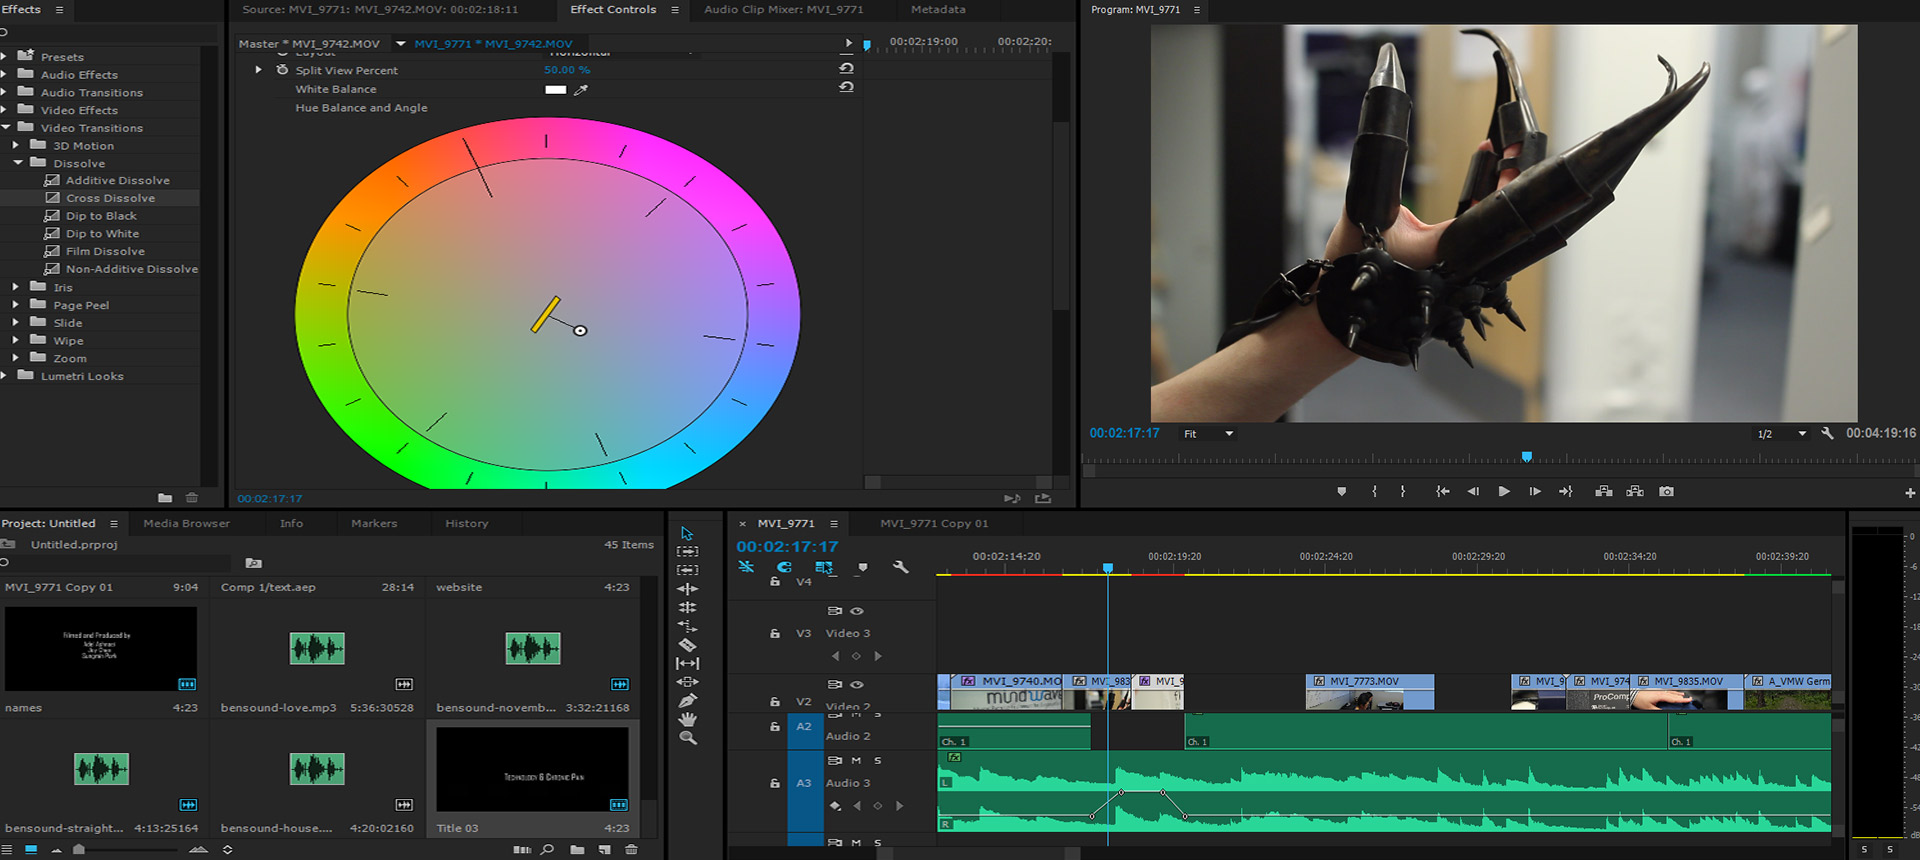
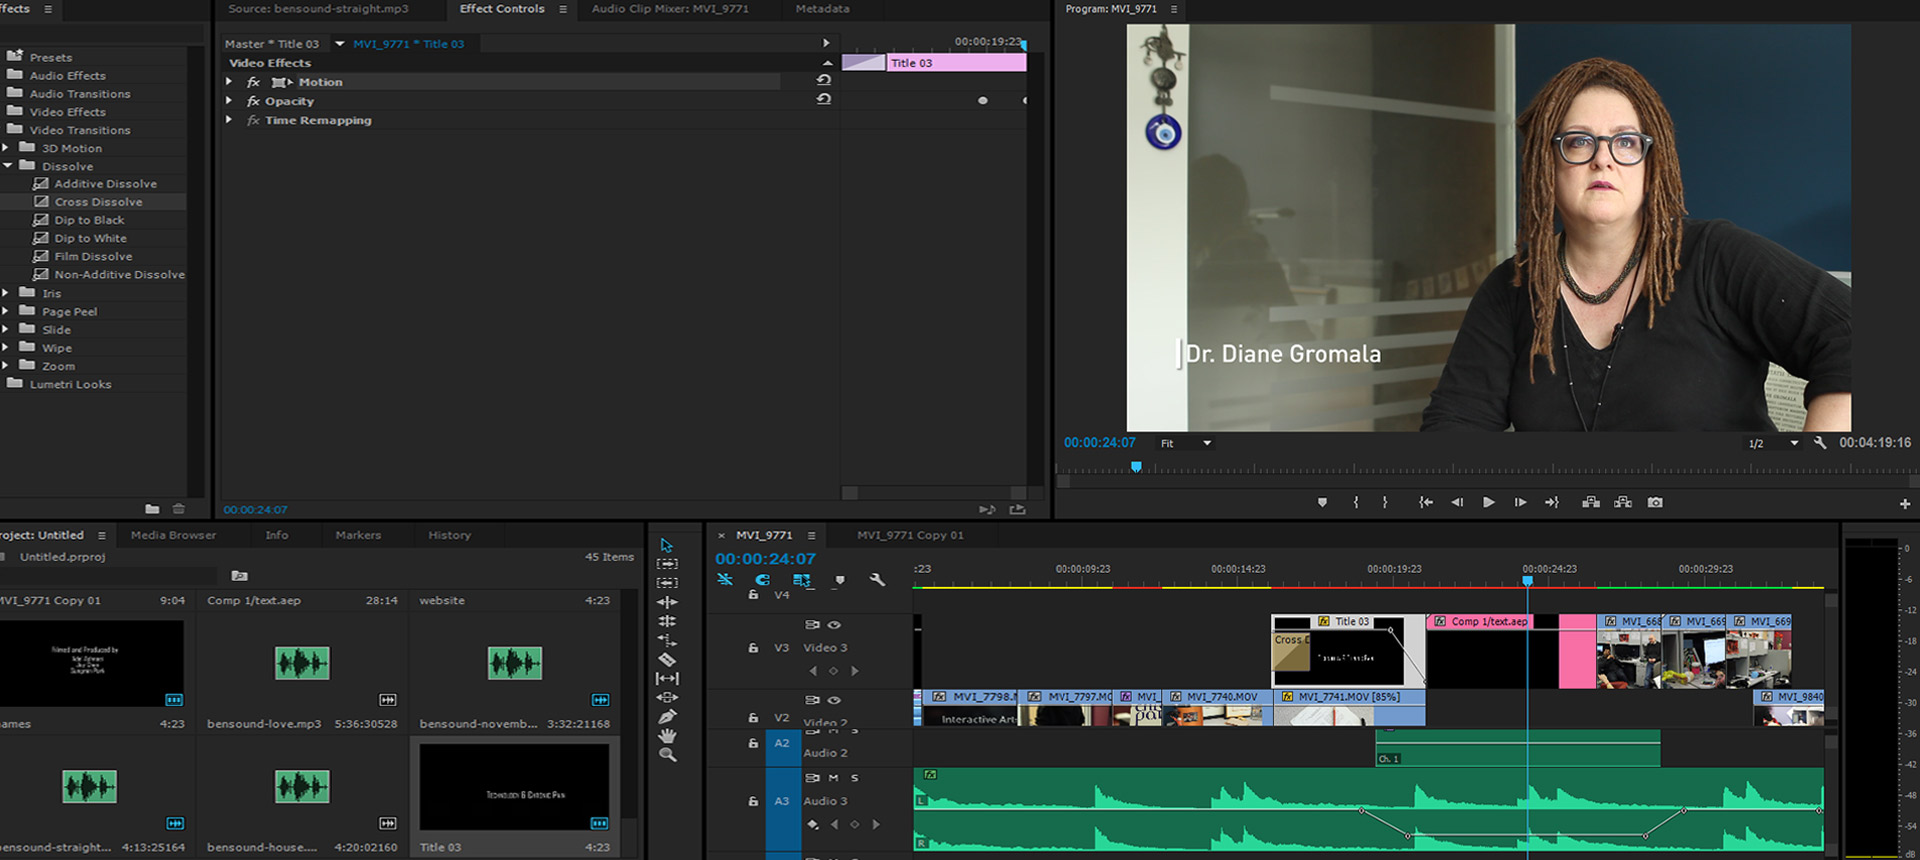
This was the hardest part, we had to go over the footage that we filmed and separate the parts we wanted to use. We had to synchronize the audio from external mic to the video from the cameras. We also needed to figure out how the order of the footage will be to make a story that is easy to understand and shows what the Pain Lab does.
