3.0 Methodology
Steps on how to perform my project:
(Please work from d:temp)
3.1 Objective #
1 Steps:
-
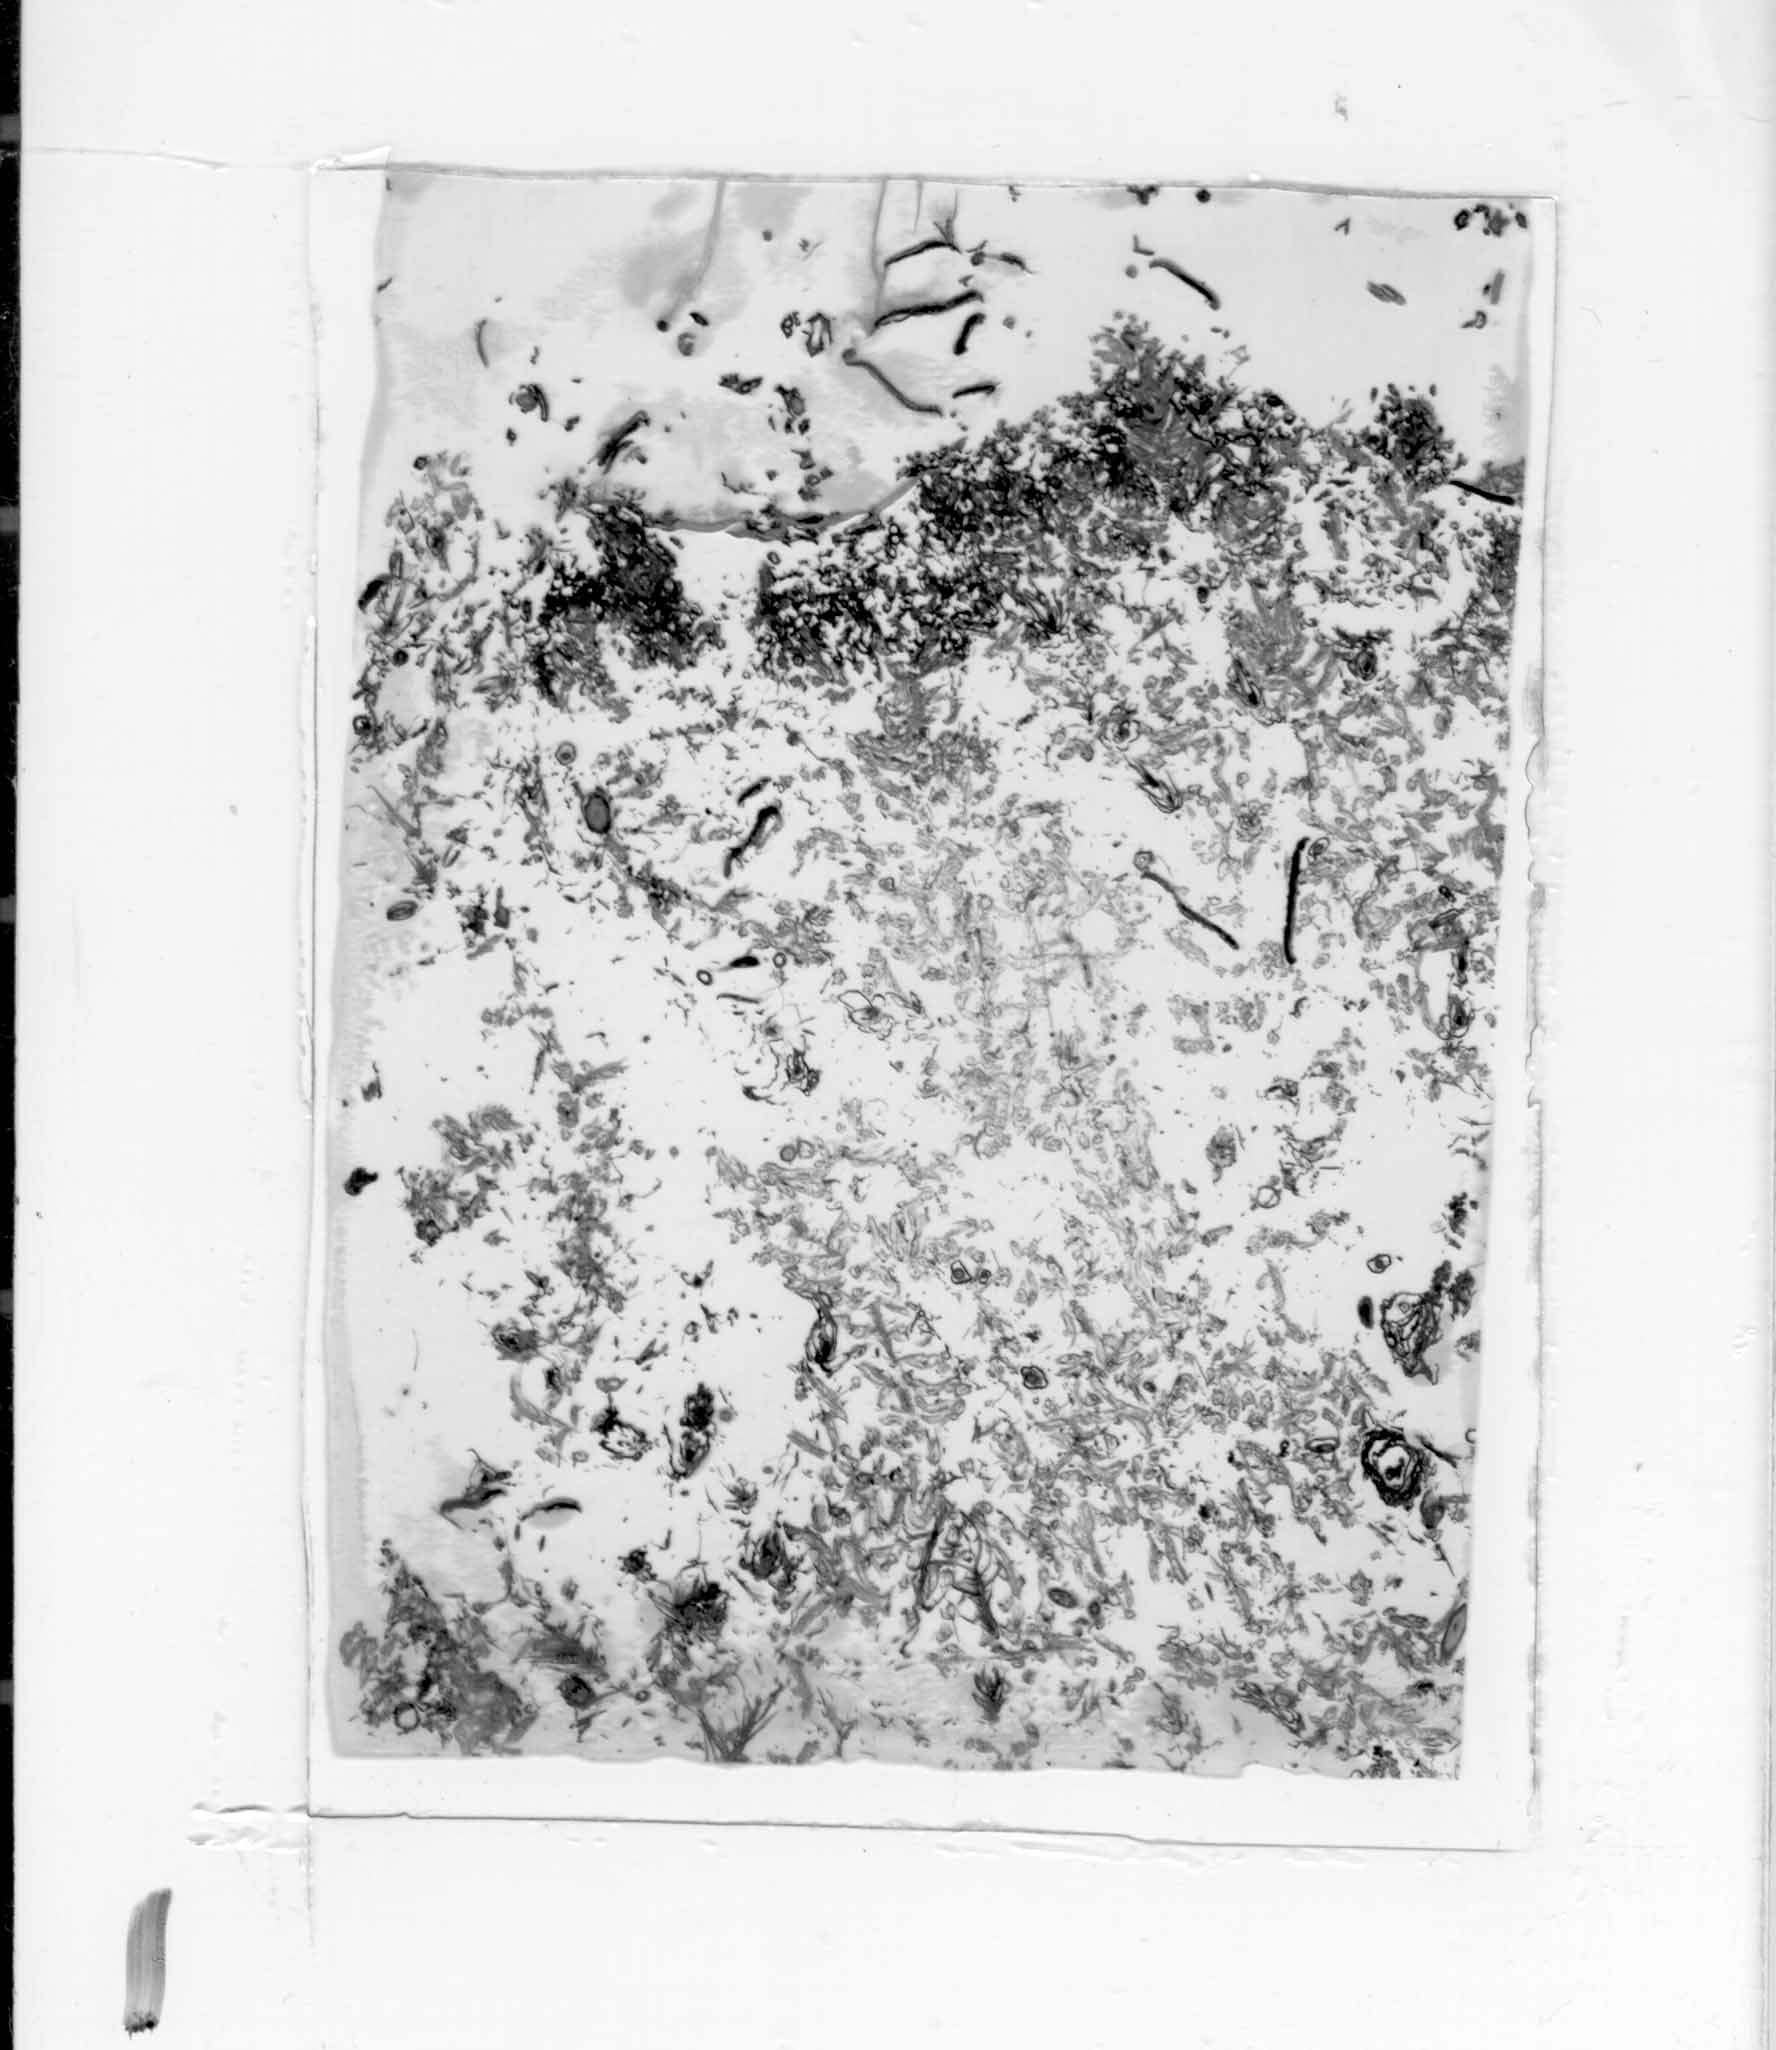
Obtain a soil slide and scanned it at 600 dpi Sharp Black and White as
".tif" files
-
Open the ".tif" file in Photoshop Adobe then cut and paste or rotate slide
if necessary and save as ".jpg or .bmp".
-
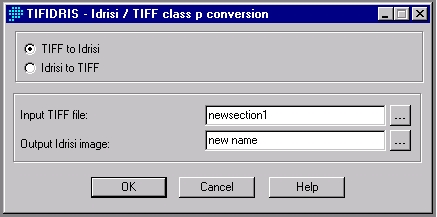
Import into Idrisi, open File menu, Import, Desktop Publishing Formats,
TIFIDRIS
-
This will import ".tif" file into Idrisi as a 8-bit black and white positive
image (0=black), go to Composer, Layer Properties and choose "grey 256"
from Palette file, 4.0 Original Data Sources
-
View Histogram from Layer Properties and determine the reclass numbers
for the pores and non pores in the slide. 4.1
Histograms for the Slides
-
Open Analysis, Database Query, Reclass, determine your own reclassification
number, for example: 0=0 to175, 1=175 to 255, go to Composer, Layer Properties
and choose "qual 256" from Palette file. 4.2
New Section 1 & 2 Reclass,
4.3 New Section
3 & 4 Reclass
-
The maximum reclassification I used for the assign a new value of: 1 was
255 as most of my actual maximum from the slides which are indicated in
the histograms is up to 247.

-
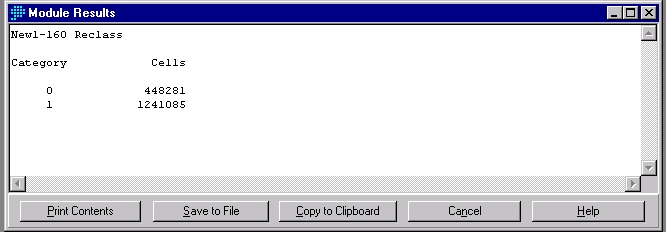
From the image reclass slide, go to Analysis, Database Query, Area to obtain
the 0's and 1's in the area and pick Tabular..

-
Equation to determine the active porosity:
Active Porosity = void(pores) area / total area
3.2 Objective # 2
Steps:
-
In order to proceed further, you need to finish Objective # 1 steps before
moving ahead to perform Objective # 2.
-
Use the indicator of rows and columns at the bottom of Idrisi to digitize
a horizontal transect anywhere from the top of the slides. By using
the row indicator, you will have a straight horizontal line across the
slide instead of a zigzag horizontal line. Digitize a line and save
it as a vector line, then go to Reformat, Raster/Vector Conversion, Lineras
to a Raster line format.
-
All three random horizontal transects are shown on each slide. 4.4
Random Transects
-
Go to Analysis, Database Query, Query.
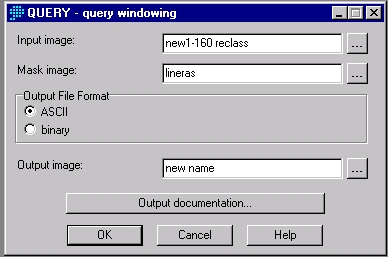
The output should be 0's and 1's. This will give you a warning
message: "This query file is not an image. It is not intended
for display." Therefore, open Notepad with files ".rst" then import
it to Excel to give you a row of 0's and 1's. Then use Java Program
to combine 1's from the horizontal transect. We can not import directly
from Idrisi to Excel as the file is incompatible with Microsoft Excel.
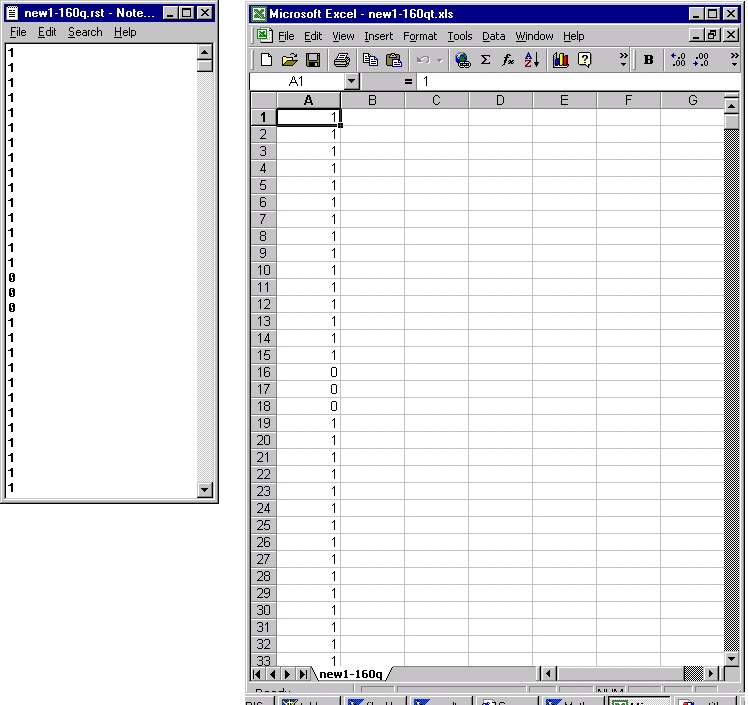
**Note: The above example data is only an example and does not correspond
to the exact transect of the slides. There is no need to do the above
steps for Objective # 2 as Java solve the problem. But I did those
steps before Java was created and it was very time consuming and unnecessary.
3.3 Using Java Program **Java is case sensitive.**
-
Before installing "Java" Program, in Idrisi, go to Reformat, Convert image
to ASCII as Java only reads ASCII to run the program.
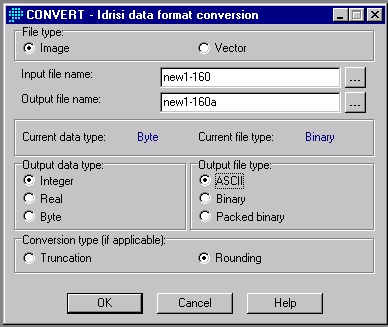
-
Install "Java" program into your computer and create a file folder in D:
drive, then go to Start, Programs, Command Prompt, it will indicate c:\
type in d:, cd temp, dir, cd java, dir
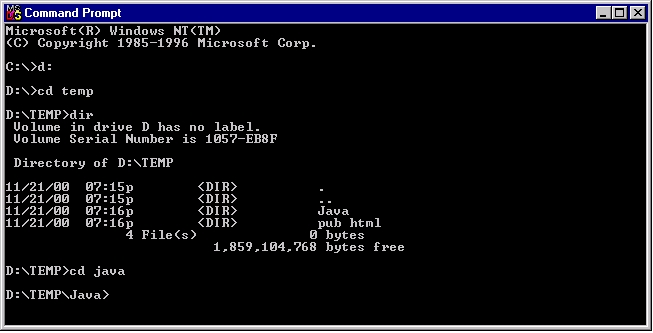

-
Compile Java classes in order in Command Prompt type: javac ConsoleReader.java
, then javac InputFile. java, then javac OutputFile.java, then javac RunLength.java,
then javac Matrix.java.
-
Copy your "New Convert" ".RST & .RDC" file from Idrisi
into Java Folder, then copy ".RST" file twice and rename it to "runin.txt"
and "matrixin.txt" for Java to run the program.
-
In Command Prompt - D:\TEMP\Java>java RunLength, Enter # of Rows: 1533,
Enter # of Columns: 1102 for 1st slide. After Java is done reading,
it counts (rows x cols) and give the total of the area. Open
the file "runout.txt" in Notepad to view the output of rows with counted
1's and rename the file.
-
D:\TEMP\Java> java Matrix. Open the file "matrixout.txt" in Notepad
to view the entire database of the slide and rename the file.
-
**Always, delete "runin.txt and matrixin.txt" after you are done running
the program and rename your "runout.txt and matrixout.txt" when you are
done for the first slide. After you have done all these, repeat the
steps from Copy your "New Convert" file for your second slide and so fourth..
-
See 3.5 Results of Java Program.
BACK TO TABLE OF CONTENTS